 FTCU-W01-01 recorded on March 18th, 2015.

Class length is approximately 2hrs and 8 minutes.
New Member Survey – password required.
All members are invited to answer some questions to help Trevor better understand the people taking the classes. This is a link to the page however you will need a password. Trevor gives out the password in the first class FTCU-W01-01 in the introduction segment. Please watch the class and take note of the password before you visit this page.
Introduction and Information
Begins at 24:30 of the video – duration 18:00 minutes
Trevor begins class spending about 25 minutes on information about the new classes and an introduction to Trevor along with photos


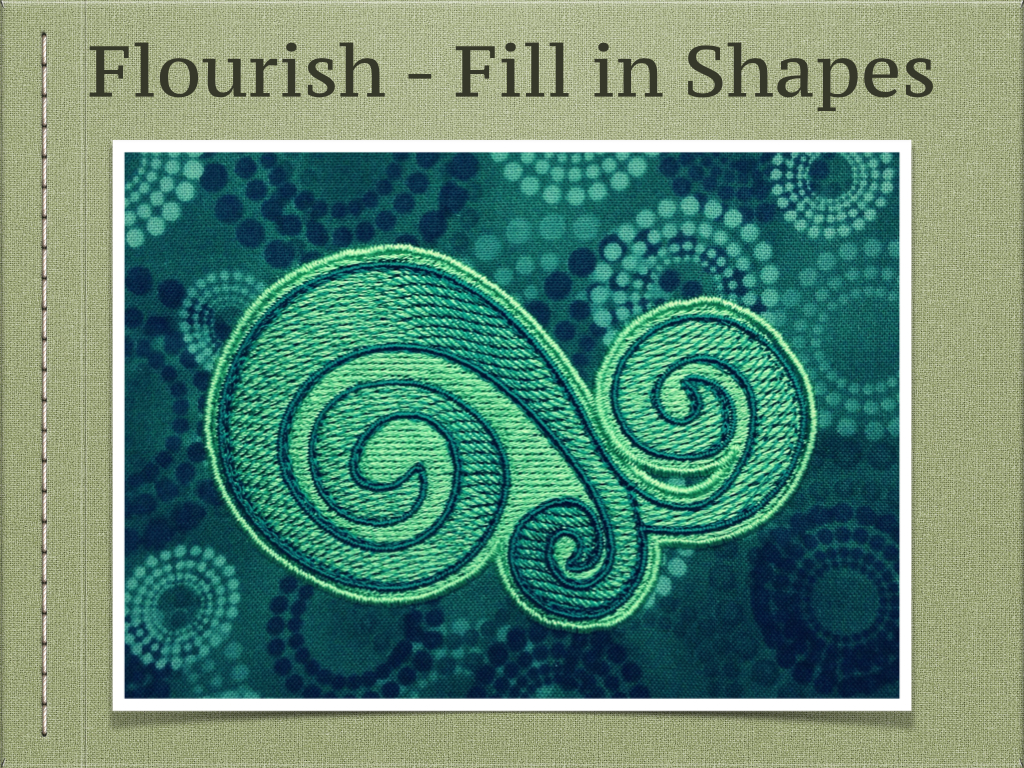
 Flourish – Fill in Shapes Begins at 24:30 of the video – duration 18:00 minutes
Class begins with Trevor creating a design from one of the built in artwork shapes. This segment is a good review of how the software works. Trevor shows how to select shapes and then choose the style of embroidery for the shape. Trevor uses the outlines tool to create a “ripple” around the shape that is moved in the sequence to sew first and act as a background.
 Convert to Curves. Begins at 42:20 of the video – duration 20:00 minutes
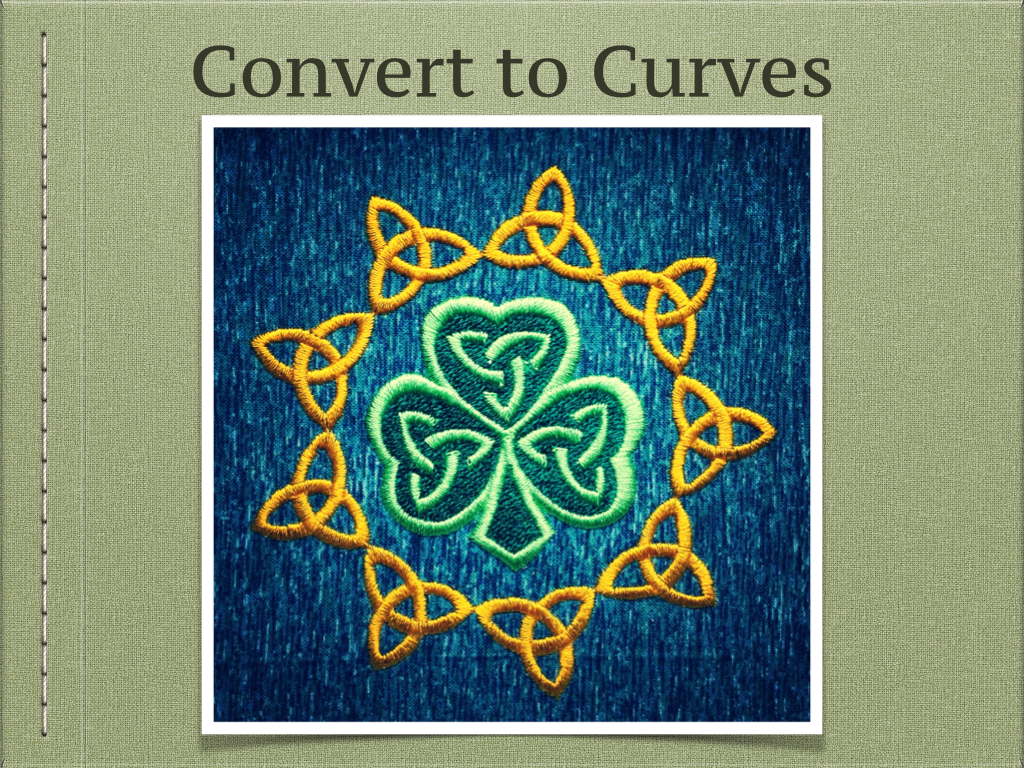
This segment is about the ability to open a design we did not digitize and have the software convert the stitches into embroidery segments. This is awesome because we are able to edit designs that we did not make and the software will maintain the style of stitching including the original underlay and density. It is possible to not have the software convert your stitches to curves and simply open as stitches. That will preserve the original stitches and not allow the software to generate new stitches.
 Adding Lettering and Monogram Begins at 1:01:45 of the video – duration 11:00 minutes
The design is from a stitch based format and we are able to convert it to curves and then resize the design as needed. Next we use the Monogram tool to create lettering that will fit in the center circle. We use the normal text tool to create the lettering along the top. Trevor shows how to use the text editing mode to be able to adjust the letter spacing to balance the space in between the letters visually.

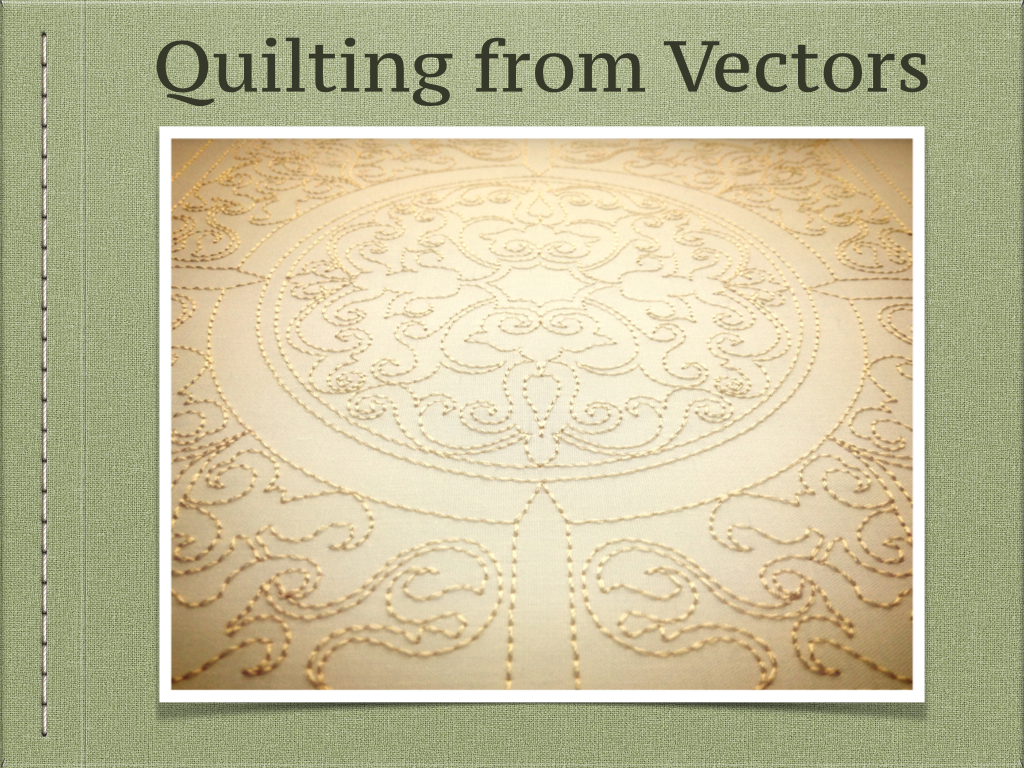
 Quilt Designs from Vector Images Begins at 1:13:20 of the video – duration 6:00 minutes

For this segment Trevor provides vector artwork of this quilt block in .emf format. You can import this .emf image on your FTC-U work space to be able to easily and quickly convert the lines to be run stitch lines. This demonstrates the power of vector artwork because all of the lines already exist and all we need to do is select them and choose a style of embroidery stitching.
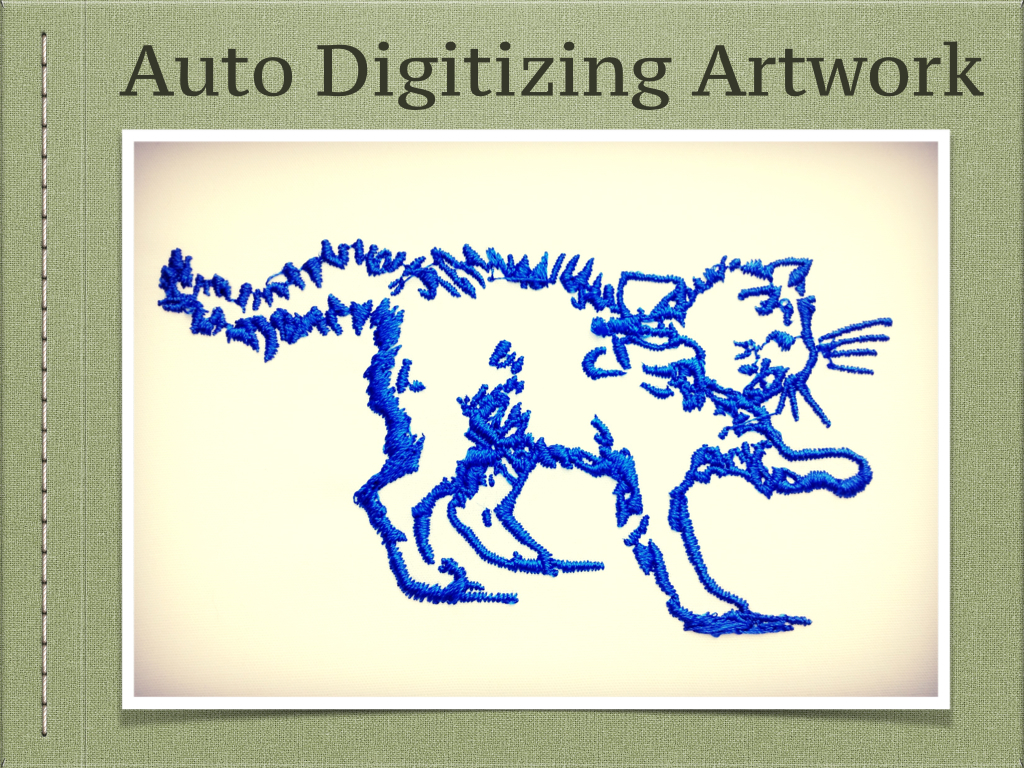
Auto A rtwork from .bmp – Kitty Begins at 1:19:30 of the video – duration 17:00 minutes
This little kitty design was created from a bitmap or raster iamge. This is different from a vector image in that it is really just dots of colour. Trevor uses the auto artwork tool to convert the bitmap image into vector artwork. Once the artwork is converted to vectors you can easily fill in the shapes by choosing a style of embroidery stitches from the embroidery types menu. You can get very quick results using the auto artwork.
 Redwork Ladies – Thread Trials Begins at 1:36:00 of the video – duration 7:00 minutes
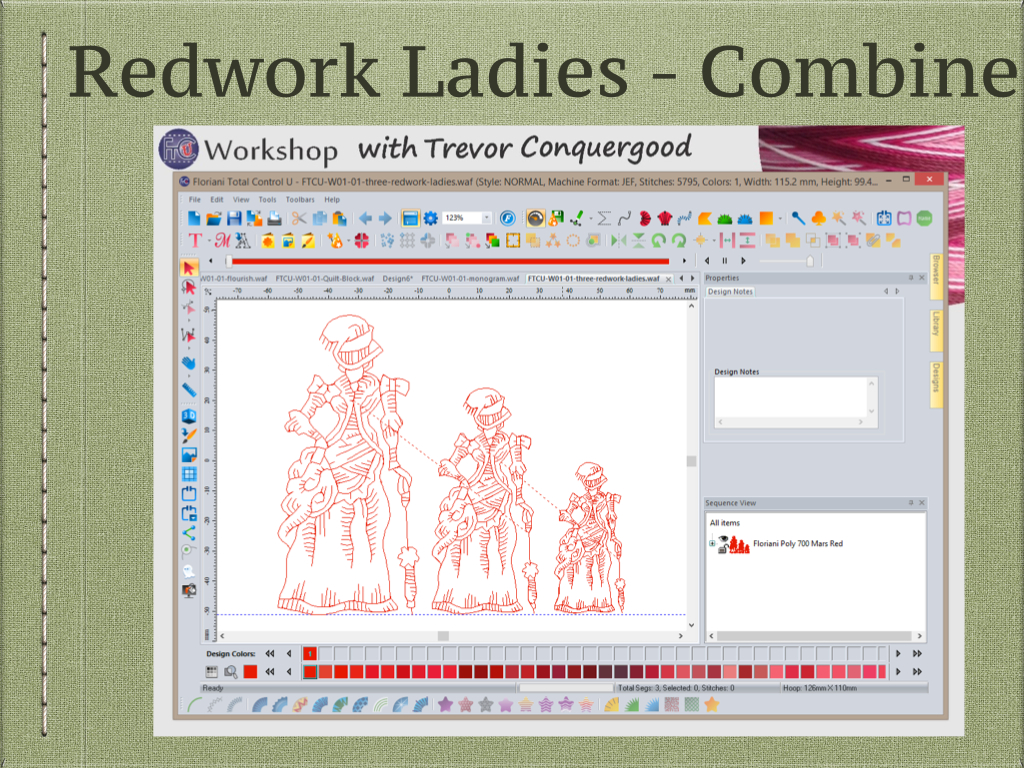
This design was created using the line tool. The combine tool is used to connect them all so there is no jumping and all lines are sewn twice. The design is saved at three sizes and this is a good design to use for testing different weights of thread. Here you can see the difference between 40 and 60wt thread.

 Digitize Artwork – Bird
Begins at 1:42:30 of the video – duration 25:00 minutes

This design is also created from a bitmap artwork in .bmp format. However to take more control Trevor uses the hands on tools to create the shapes himself. This takes a bit more time but gives the most ability to influence the final embroidery. Trevor shows how to use the satin stitch tool and connect each shape to the next one by choosing a start and end point that connect the shapes.


