FTC-U Workshop 01-02
Class length is approximately 2 hrs and 8 minutes.
Class begins with a short overview of how the program works. Learn about segment based embroidery and how we can use the software to fill in shapes with stitching. You really do have “Total Control” of the results by choosing the stitch style and adjusting the properties.
 FTC-U Workshop 01-01 Begins at 10:00 of the video. Duration 13 minutes.

Design tools are used to create the shapes that make up an embroidery design. There are several tools along this tool bar and it’s important to understand how they work and when to use them. In this segment Trevor reviews the how to use the design tools.
 FTC-U Workshop 01-01 Begins at 23:20 of the video. Duration 11 minutes.
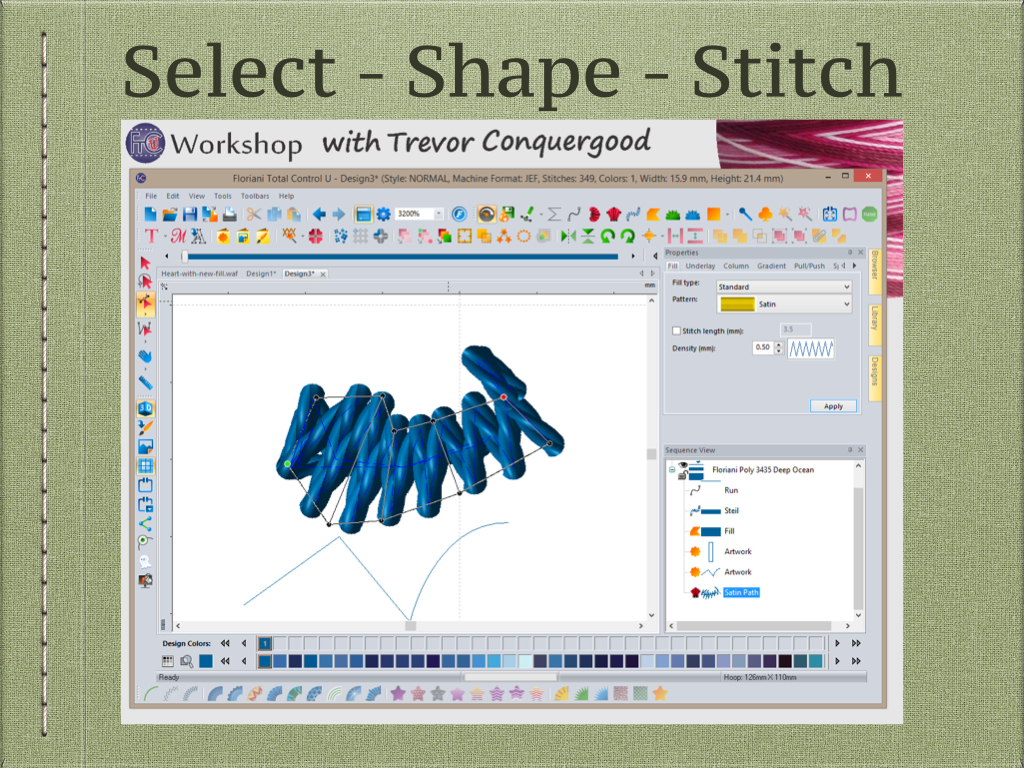
Select , Shape and Stitch are the three main modes of editing your shapes. Select is your main editing mode and has a wide variety of uses. Shape mode is how you can adjust stitch angle and start end points. Stitch mode will allow you to select and edit specific stitches.
 FTC-U Workshop 01-01 Begins at 34:00 of the video. Duration 5 minutes.
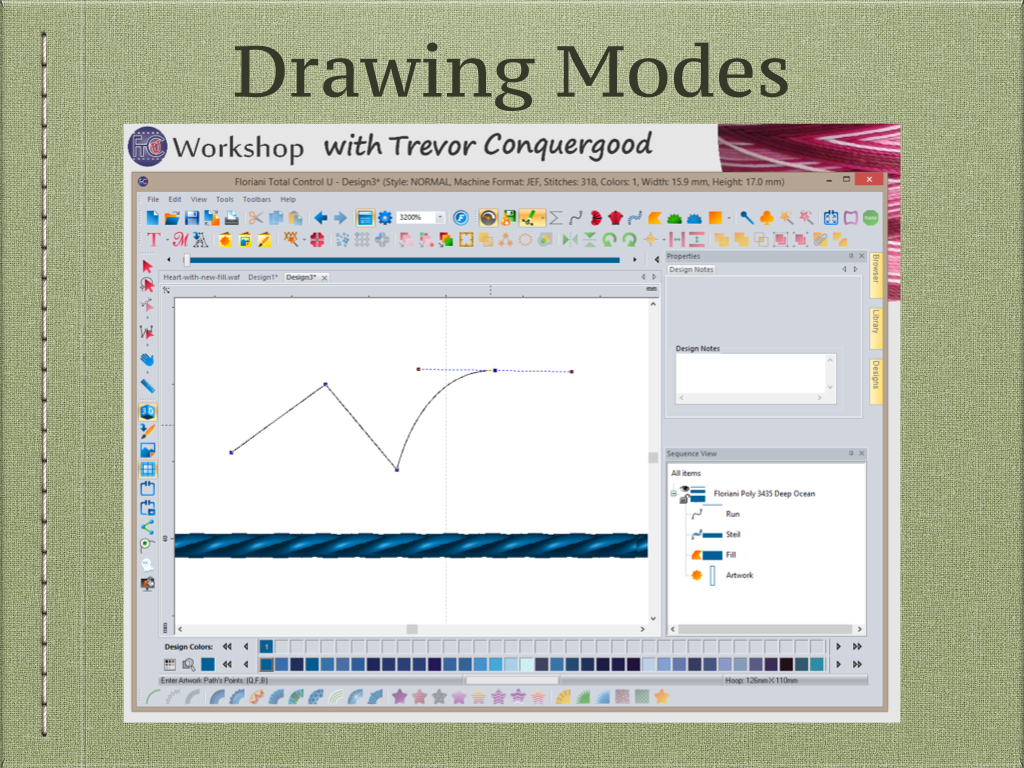
There are three different ways (Line, Pen and Bezier) to enter points when you are creating shapes. Pen is like freehand drawing where you click and drag to make the shape. Line and Bezier are more direct where you will click to make each shape point.
 FTC-U Workshop 01-01 Begins at 39:20 of the video. Duration 2 minutes.

Artwork is the foundation of the software and is the base type of segment. Generally you can have an open or closed shape. Artwork is converted to other types of segments to affect the type of embroidery that is created.
 FTC-U Workshop 01-01 Begins at 41:00 of the video. Duration 12 minutes.
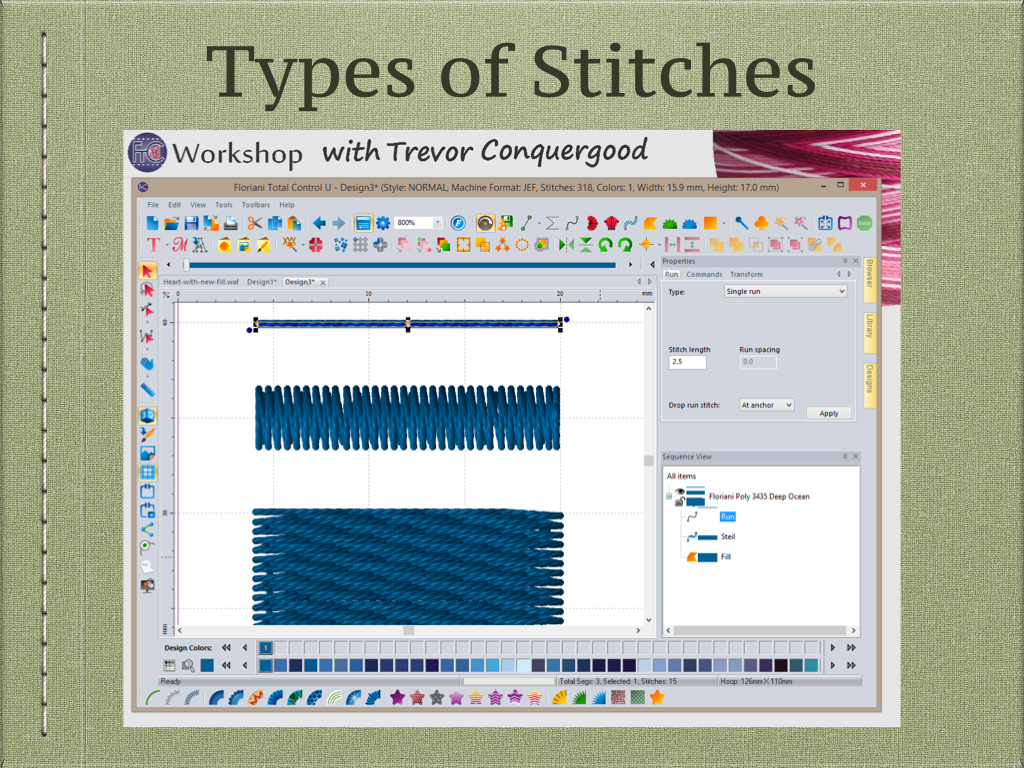
Choose the type of stitch you want from the toolbar and then make fine adjustments in the properties box. The basic types of stitches are run, satin and fill but there are many specialty types of stitches such as appliqué, motif fill, wave fill and many others.
 FTC-U Workshop 01-01 Begins at 53:25 of the video. Duration 8 minutes.
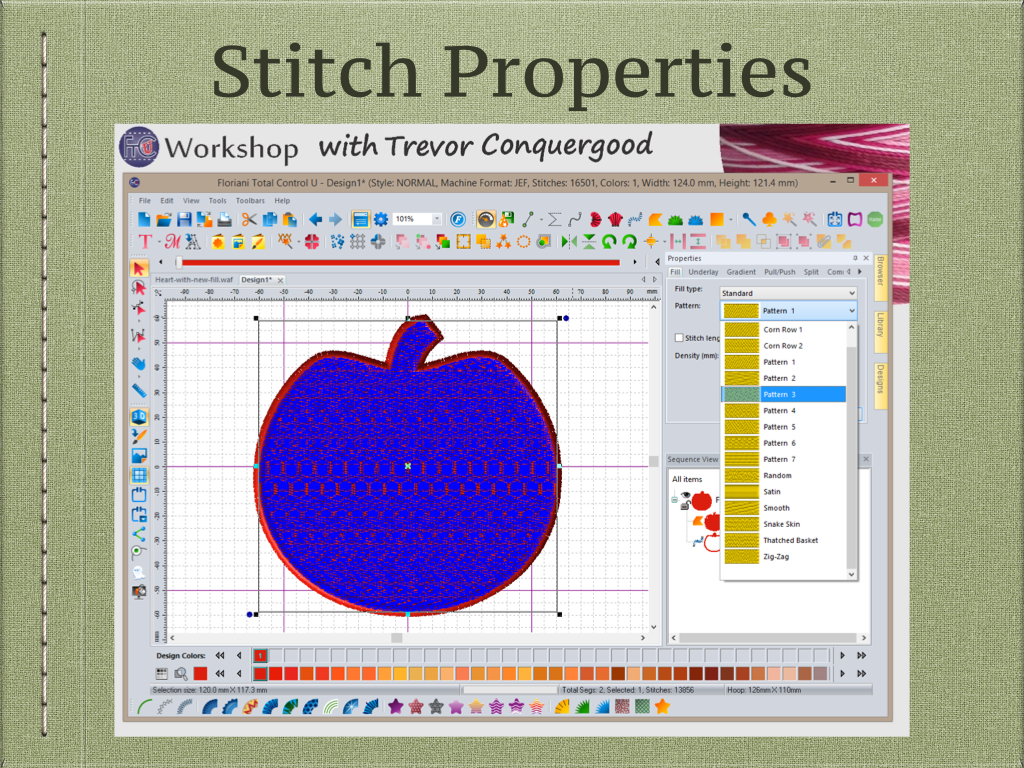
The properties menu will change to reflect the possible settings for the type of segment you choose. You select a shape to see the properties for that individual segment. Once selected you can adjust the settings and use the apply button to see the changes.
 FTC-U Workshop 01-01 Begins at 1:01:00 of the video. Duration 6 minutes.

Underlay are very important stitches in a design that will help support the top stitches and keep them from sinking into the material or a base layer of embroidery. There are different types of underlay to choose depending on the type of stitch and size of the shape.
 FTC-U Workshop 01-01 Begins at 1:17:00 of the video. Duration 1 minutes.

You can use the column tab in the segment properties menu to apply a jagged edge on your shapes. You can adjust the side or both and how much of the jagged effect you want. You can use this for special bleeding techniques and other interesting effects.
 FTC-U Workshop 01-01 Begins at 1:18:00 of the video. Duration 9 minutes.
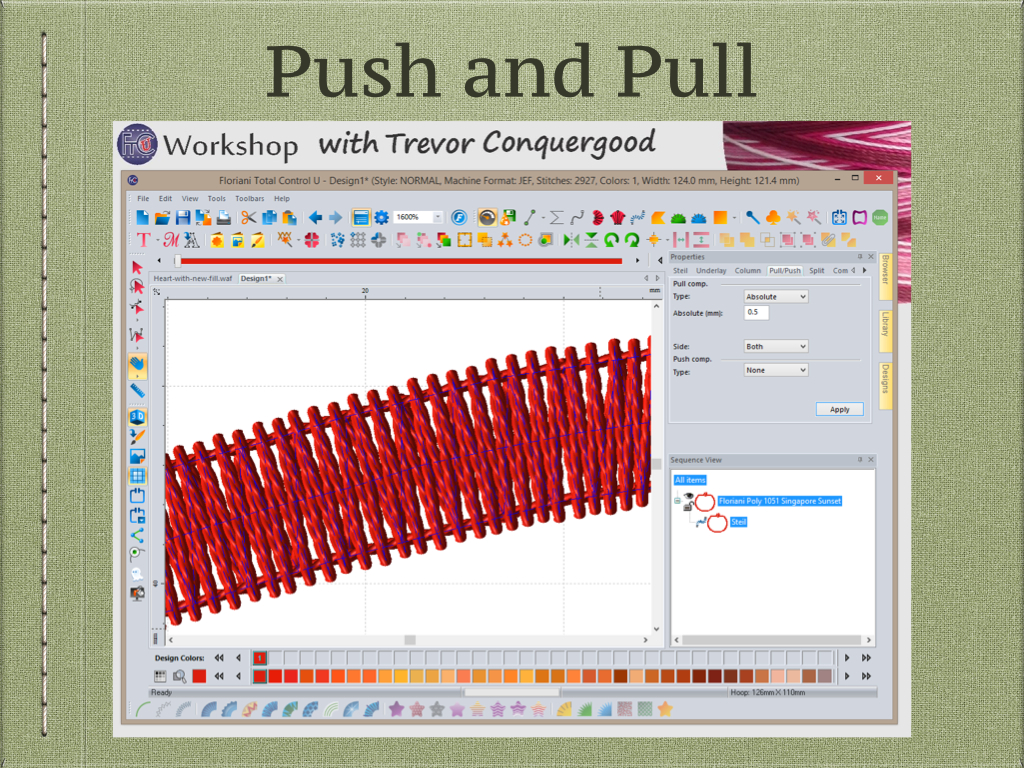
Push and Pull are two different forces that affect how our designs will stitch out. You can easily compensate for the ill effects of push and pull with the settings in the properties box once you learn how they work.
 FTC-U Workshop 01-01
Begins at 1:27:30 of the video. Duration 7 minutes.
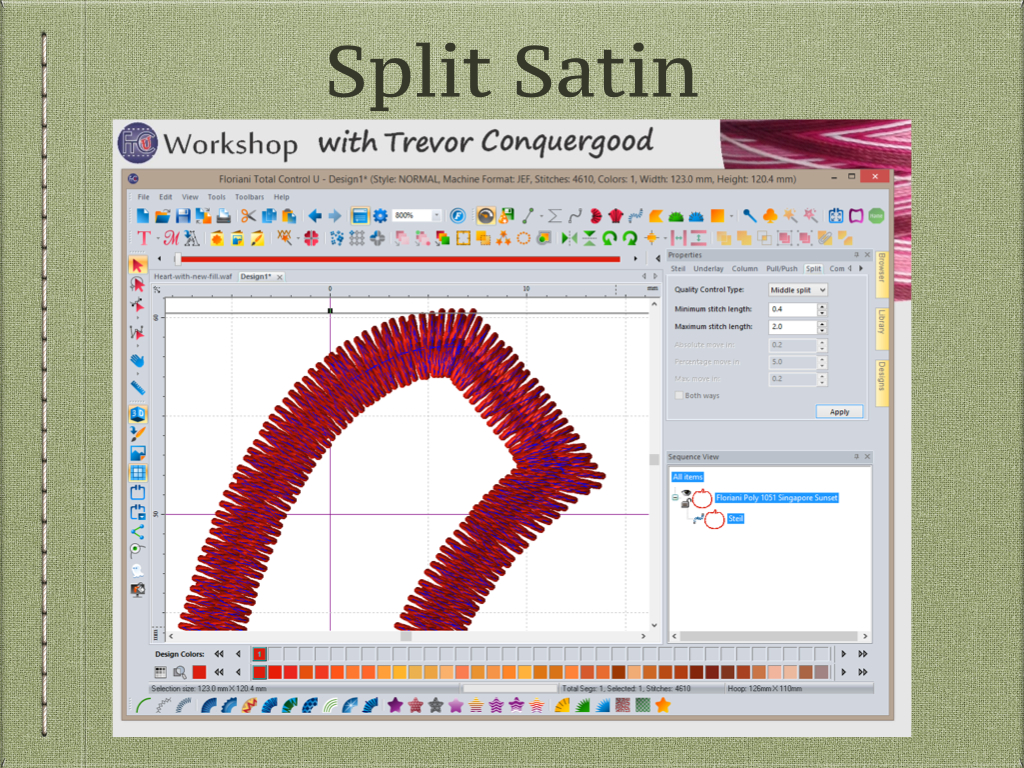
You can split a long satin stitch shape into a split satin with the tab on the properties box. You can choose from center split or offset the split to either side. You can adjust the minimum length to split. If you choose random the software makes it less noticeable.
 FTC-U Workshop 01-01 Begins at 1:34:30 of the video. Duration 2 minutes.

Use the commands tab in the segment properties to affect the start and end points of each segment. This is how you can add a thread trim with a tie off or choose jump or stop for the command.
 FTC-U Workshop 01-01 Begins at 1:35:20 of the video. Duration 8 minutes.

Short stitches help the density of a shape stay even when the stitch angel is changing such as the inside of a curve. You can turn short stitches on or off on the general tab of segment properties. You can also affect the type of back stitch on this menu.
 FTC-U Workshop 01-01
Begins at 1:43:00 of the video. Duration 10 minutes.
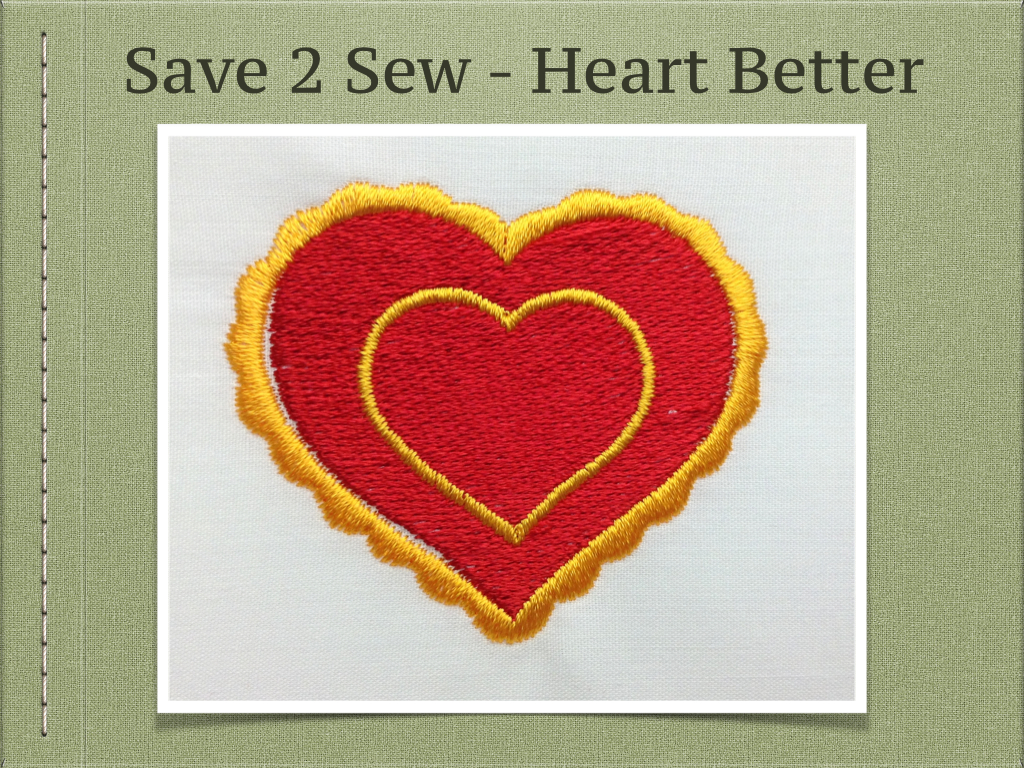
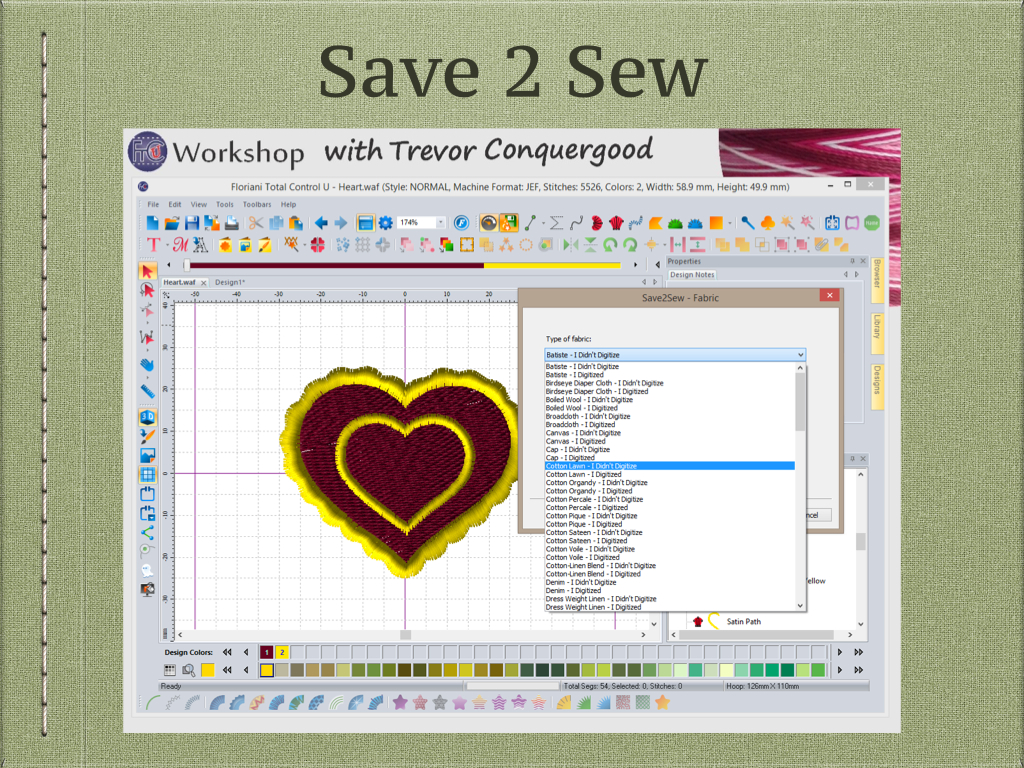
All of the intelligence in the software is aloud to shine with the save 2 sew tool. You simply choose the fabric you want to sew on and the software will make adjustments to the segment properties to improve the results. It will also provide you with a valuable sewing tip.