 FTC-U WORKSHOP 01-09
Class length is approximately 2 hrs and 12 minutes.
My Design Album – Preview
Begins at 6:00 of the video. Duration 15 minutes.
Trevor begins class with a preview of the newest software from RNK, the Floriani My Design Album. If you have collected lots of embroidery designs this will be your new favourite way to discover what you have. Categories, Keywords and so much more. 
Lasso Select Tool Review
Begins at 21:00 of the video. Duration 24 minutes.
How much can you resize a design? This is a very good question and Trevor discusses the main things you need to consider such as the type of stitch used and is it suitable for the new size. The important thing to learn is size does matter and you can make any size you want. 
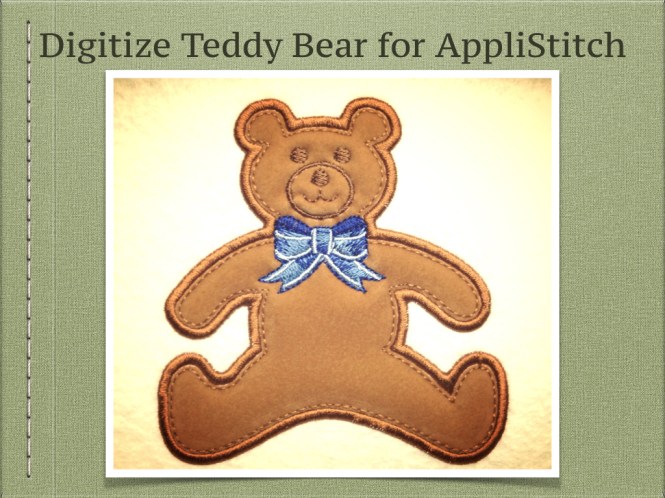
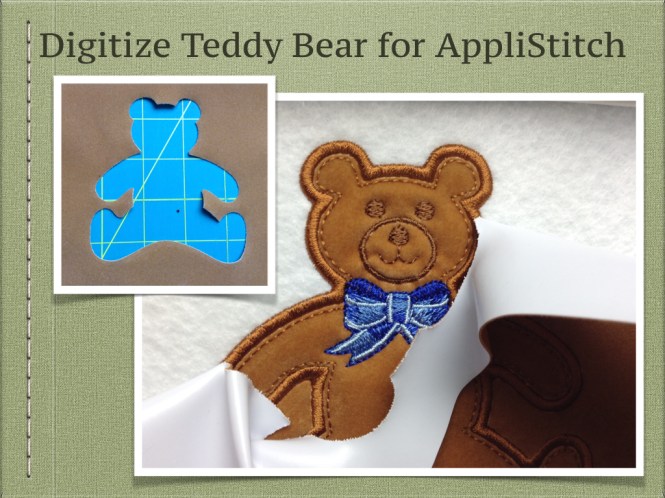
Digitize Teddy Bear for AppliStitch
Begins at 45:19 of the video. Duration 21 minutes.
Learn to create designs that are suitable for use with Floriani AppliStitch.
Trevor creates this AppliStitch Teddy Bear design by starting with one of the custom shapes and quickly converting it to be an AppliStitch that includes the special trapping run line on the inside. The bow was added by taking it from a candy cane christmas design from the Floriani free monthly design collection. Trevor used some artwork to make the face with the circle tool.

Edit Designs to add AppliStitch
Begins at 1:07:00 of the video. Duration 7 minutes.
Edit your filled designs like this chick that needed to have the fill background removed and then add in the special trapping stitch that helps secure the AppliStitch material. However we turn off the satin finish because there was already a satin border in the design and we don’t need another one. 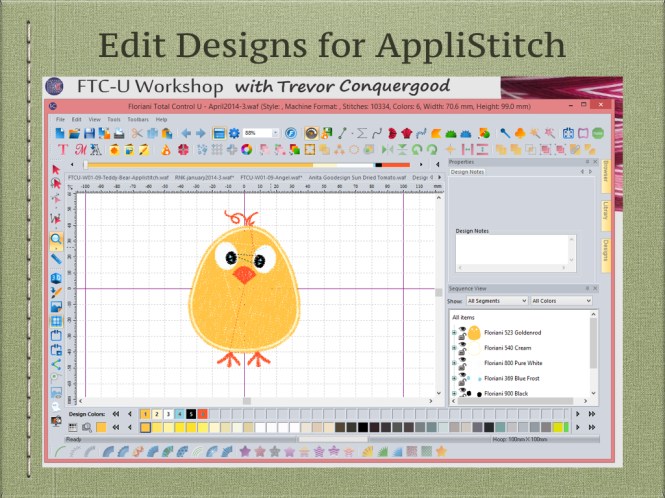
Perfect 2ply Run Line Letters?
Begins at 1:14:00 of the video. Duration 22 minutes.
Trevor is asked how to make run line lettering that sews just like the ones she has purchased . We have many good stock fonts to choose from however to get the best results at the smallest size possible you can hand digitize a perfect 2 ply run line like the sample so there are no extra jumps or trims needed. 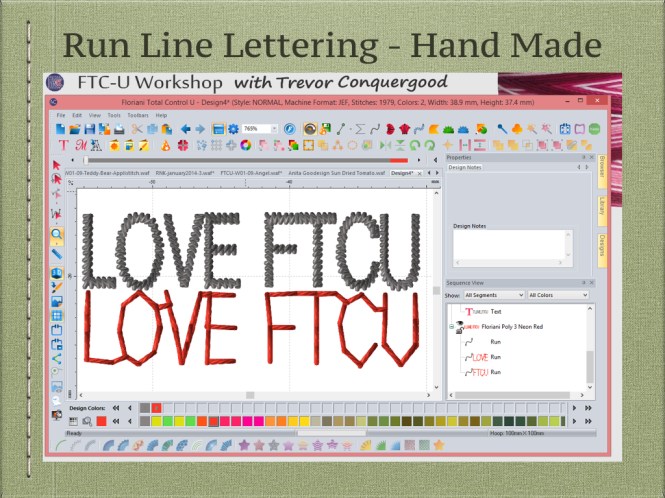
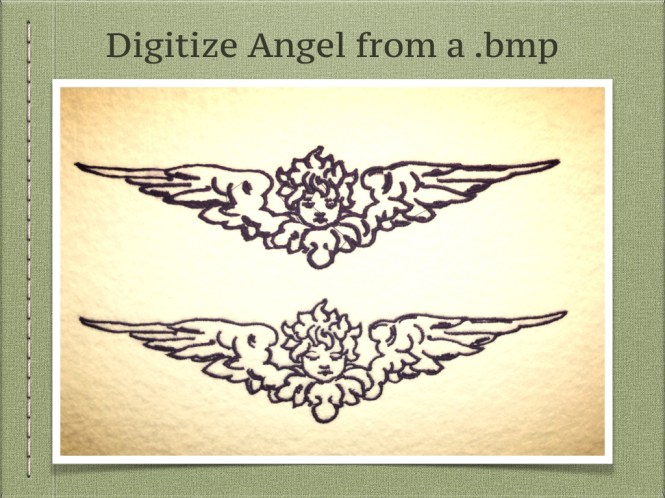
Digitize Angel from .BMP Artwork
Begins at 1:36:00 of the video. Duration 36 minutes.
Learn to create embroidery from .bmp (bitmap) artwork. Auto Digitizing is possible and in some cases looks great however for this artwork a better method is to draw your own satin path segments. This allows you to achieve much nicer results with more control of the quality of the results.