FTC-U Workshop 03 -03
Class length is approximately 2 hours and 12 minutes.
Design Question for Jane
Begins at 2:45 of the video. Duration 44 minutes.
Jane sent in a design she is working on and Trevor takes a look at the design in class. He suggests that it would be a good idea to ask for the original artwork and not work from existing embroidery on a shirt. The question is how to make the borders look better.
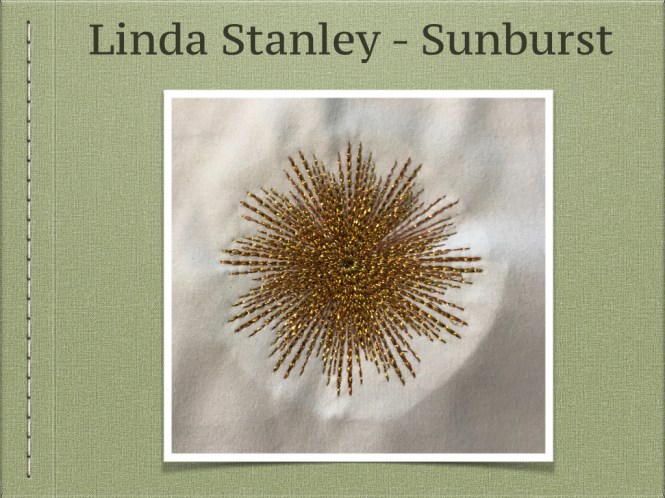
Sunburst designs from Froggie and Linda
Begins at 28:45 of the video. Duration 22 minutes.
In this segment Trevor looks a some designs that were sent in to follow up from the class FTCU-W03-01. Both Froggie and Linda had been guests it the class and had sent in the designs to show what they had come up with. Froggie came on in the class this month to tell us about the changes she made to her design to make it suitable for some hats that she made to send to people in Huston that were affected by the recent hurricane. Thanks Linda and Froggie for sharing their designs. 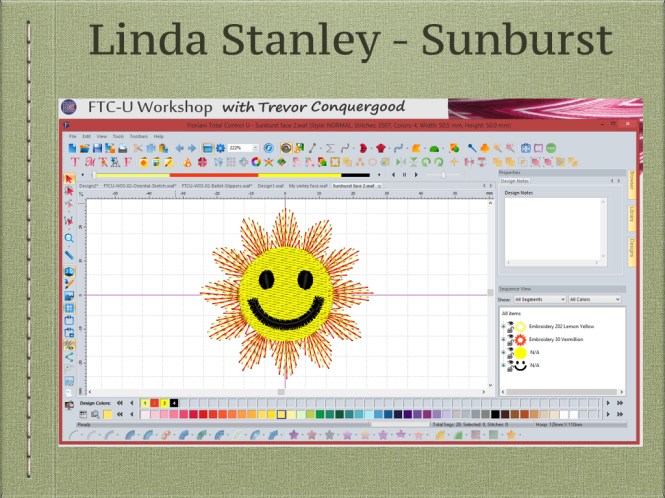


Save “Pre-Set” Options
Begins at 50:30 of the video. Duration 10 minutes.
In this segment you will learn how to save specific object settings as a pre set so that you can quickly recall or re use these settings on new designs you create. Once you use the save as option the new pre-set will be available to use. The pre-set option was added in the latest update 3230. 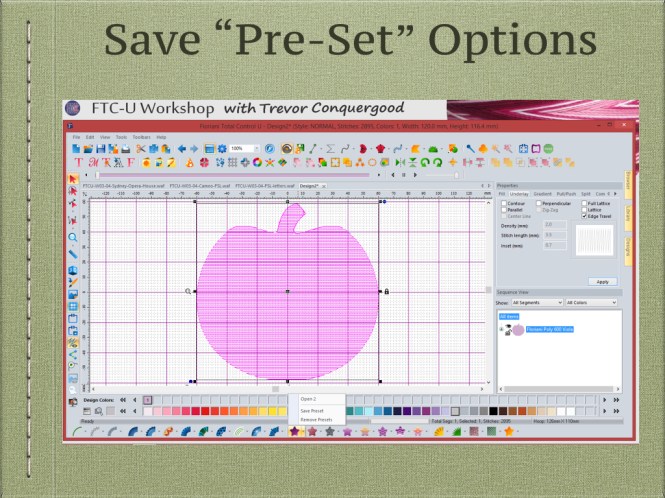
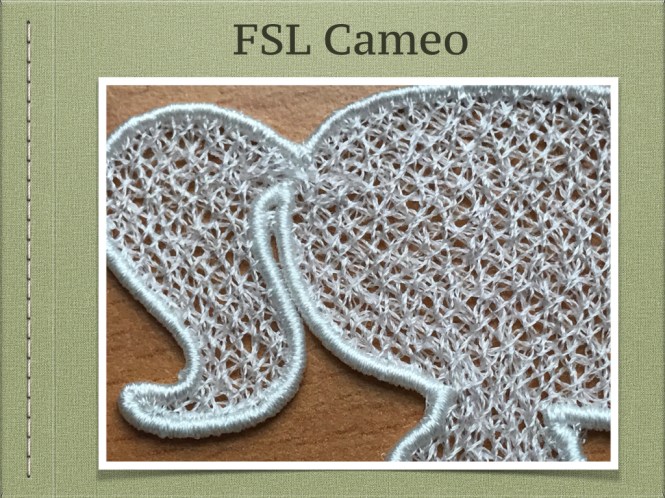
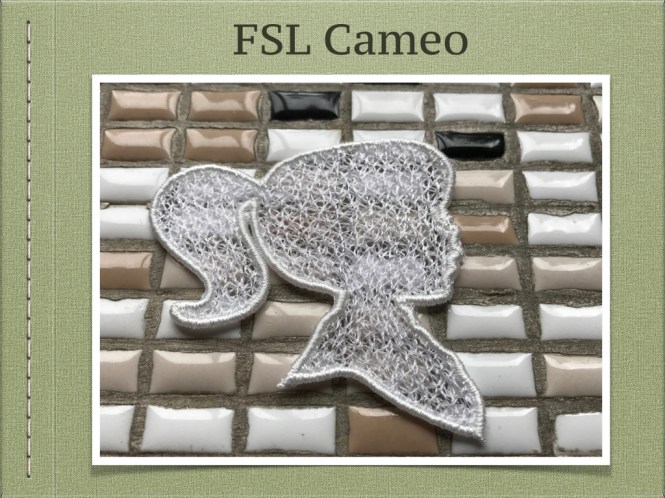
Freestanding Lace Cameo
Begins at 1:00:30 of the video. Duration 15 minutes.
Learn to create a netting from three layers of open density fill that are all at different stitch angles. The layers all lock together to make great foundation for free standing embroidery. Use a “Steil” stitch for the edge of the shape to contain the edges of the netting and give a nice clean border. 


Font Play – Find the Perfect Font.
Begins at 1:15:00 of the video. Duration 10 minutes.
Use the “Font Play” tool to open a wizard that you can use to help choose your letter style or font. You can scroll through the the different styles and see the entire alphabet or type in the exact letters you want to see. When you have found the font you like you can add the text segment to your design directly. 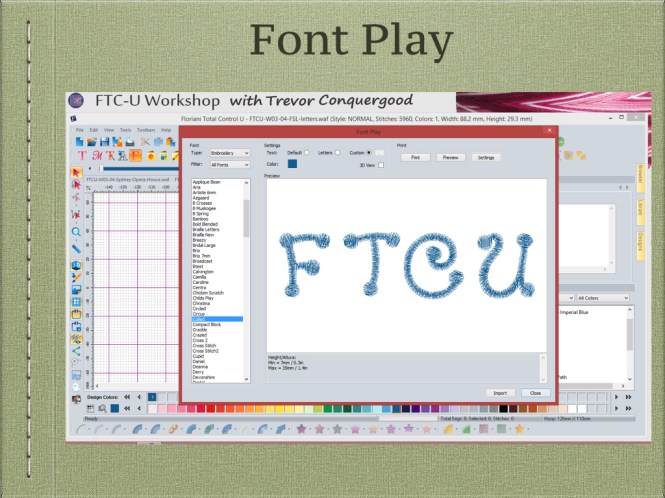
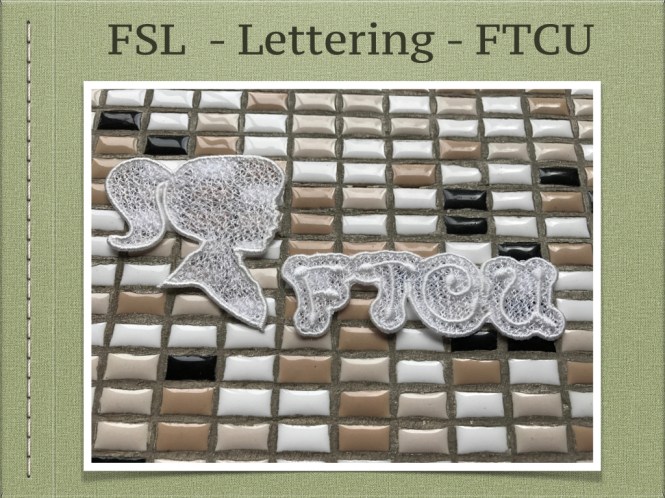
FSL – Lettering – FTCU
Begins at 1:25:45 of the video. Duration 6 minutes.
Trevor shows how to quickly create your own custom freestanding lace from lettering. To support the letters as lace we make a background of lace netting in the shape of the lettering. The outline tool is used to create the custom shape and then three extra copies are made for the netting and border. 


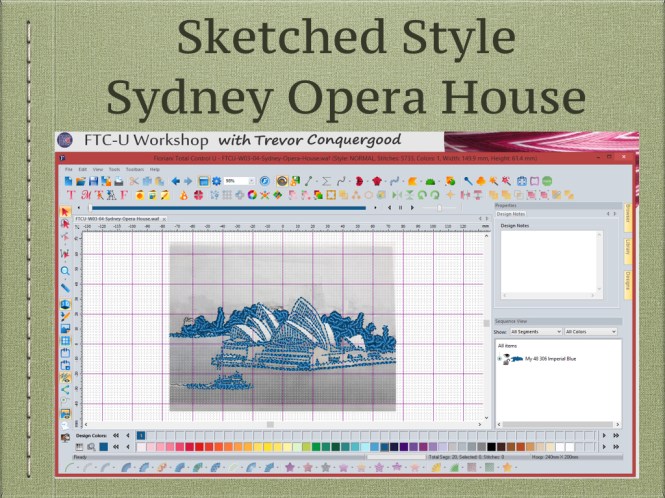
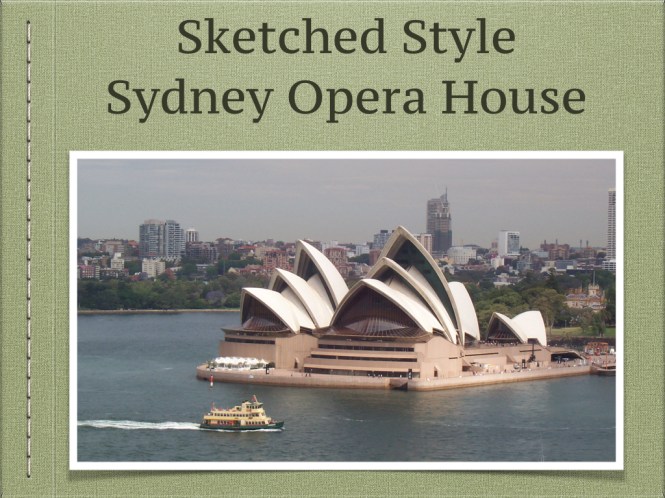
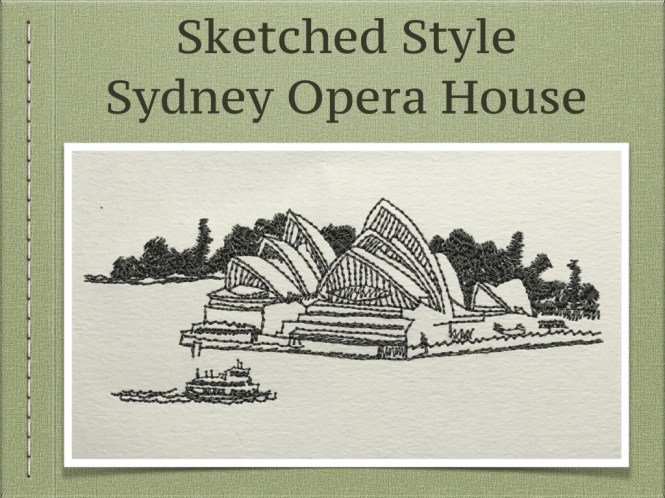
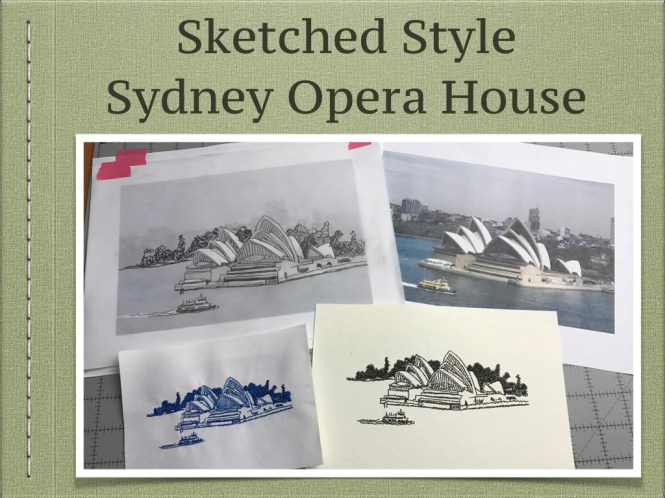
Sketched Style – From a Photo Sydney Opera House
Begins at 1:31:40 of the video. Duration 30 minutes.
Trevor uses velum to trace with a pencil over a photo of the Sydney Opera House. The sketch or tracing is then used to create an embroidery “Sketch Style” design. Trevor uses a 2mm grid setting to help gauge the size and amount of detail to include in your design.