
FTC-U Workshop 02-11
Class length is approximately 1 hrs and 58 minutes.
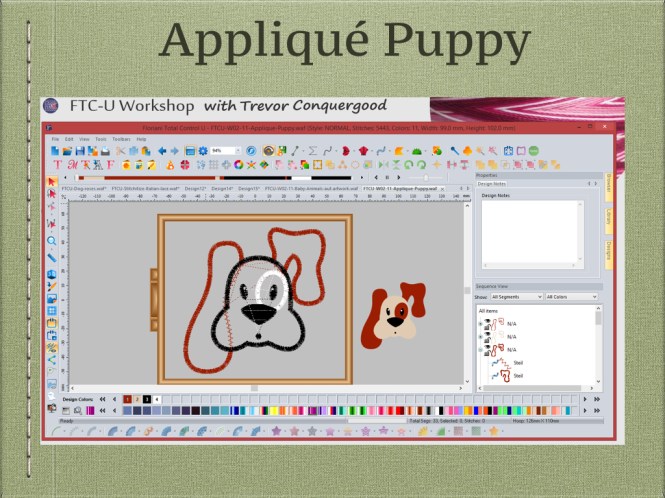
Partial Applique – Applique Puppy
Begins at 3:30 of the video. Duration 54 minutes.
Learn all about the appliqué tool and how to adjust the properties for different styles of appliqué. Then learn to break apart the appliqué shape for even more editing abilities over the individual parts of the appliqué. Trevor shows how to achieve a partial appliqué so the cover stitch is not sewn where another appliqué will cover it. 

Artwork – Backdrop vs Vectors
Begins at 57:00 of the video. Duration 13 minutes.
Vectors are images that are made from shapes that you can simply select and assign the style of stitching. Backdrops are images that are made from dots of colour called pixels. There are no shapes to select and you will need to create the shapes with the tools in FTCU.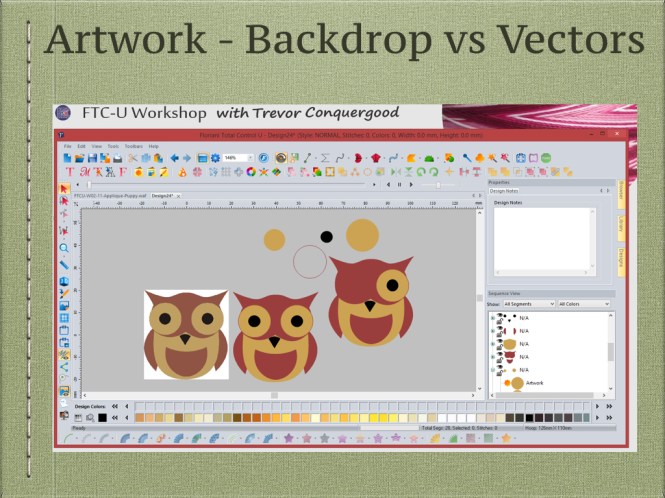
Auto Artwork – Baby Animals
Begins at 1:10:20 of the video. Duration 6 minutes.
You can use the auto artwork wizard to quickly create vector artwork from a backdrop or bitmap image. The success of this will vary depending on the complexity of the image and the quality or number of pixels in the backdrop you want to use. 
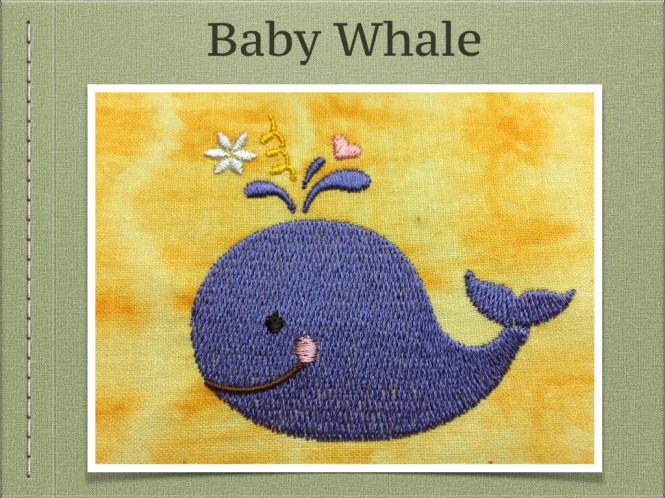
Baby Whale
Begins at 1:17:00 of the video. Duration 18 minutes.
Using the shapes from the auto artwork tool Trevor shoes how to create an embroidery design that both looks good and will sew well. Learn to use the slice tool and divide shapes to allow use to use different types of stitches or stitch angles. 
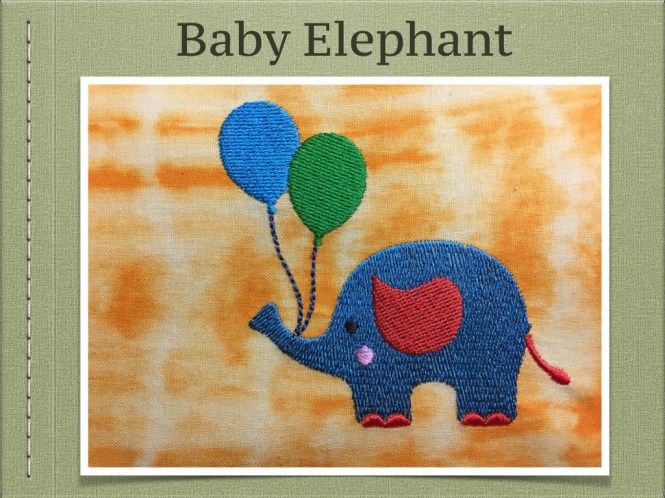
Baby Elephant
Begins at 1:35:00 of the video. Duration 13 minutes.
Learn to make further edits to the shapes from the auto artwork so that you can weld or trim the vector shapes as needed. Trevor attaches the elephants trunk to its body using the weld artwork tool. Also learn about how to overlap shapes to avoid gaps. 
Baby Monkey
Begins at 1:48:00 of the video. Duration 9 minutes.
Trevor continues to work on creating designs from the auto artwork of the baby animals. Making these designs is a good review of the most important principles of creating designs. Learn about compensation for pull to make things fatter. Also learn to layer small shapes on top of base layers of fill so the top layer will sit nicely on top and the base later is one smooth sewing piece of fill. 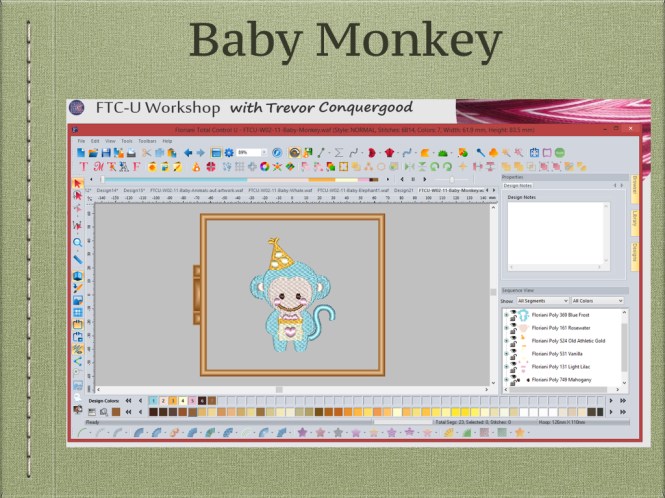

Design Question
Begins at 1:57:30 of the video. Duration 14 minutes.
Jane sent in an image she would like to digitize and asked what is the best way to go about it. Trevor looks at the jpg backdrop aka bitmap image and decides that the results are not great. It becomes a question of what is faster and will give a better result. Trevor suggests that the design be manually digitized. 
