FTC-U Workshop 01-03
Class length is approximately 2 hrs and 3 minutes.
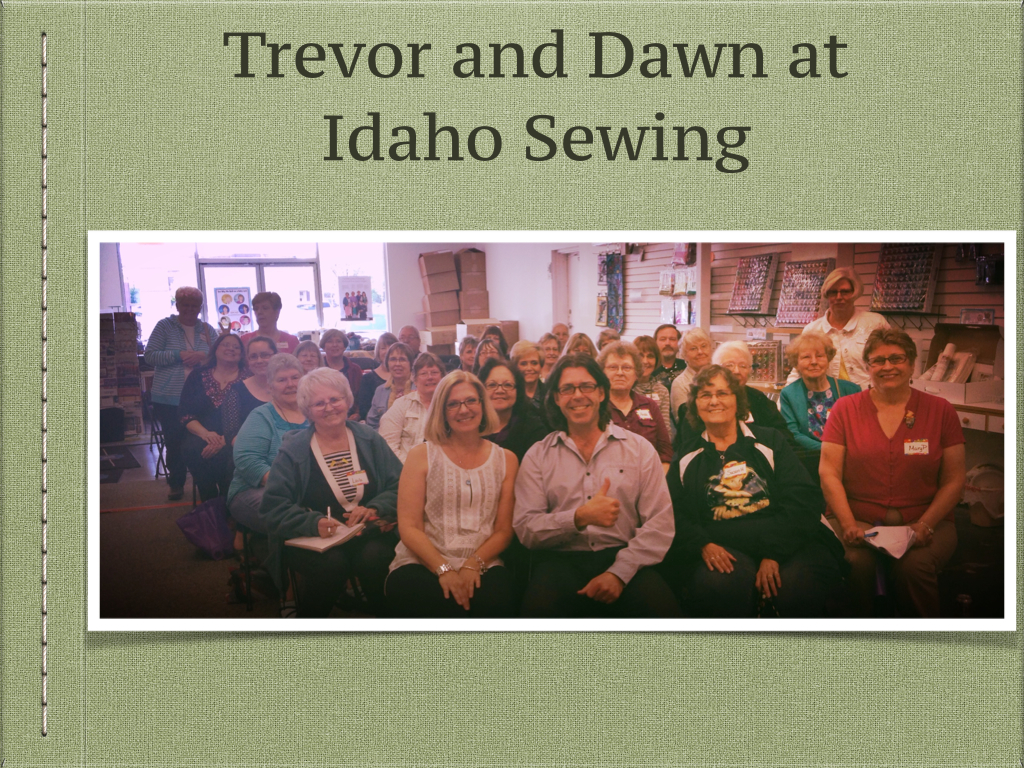
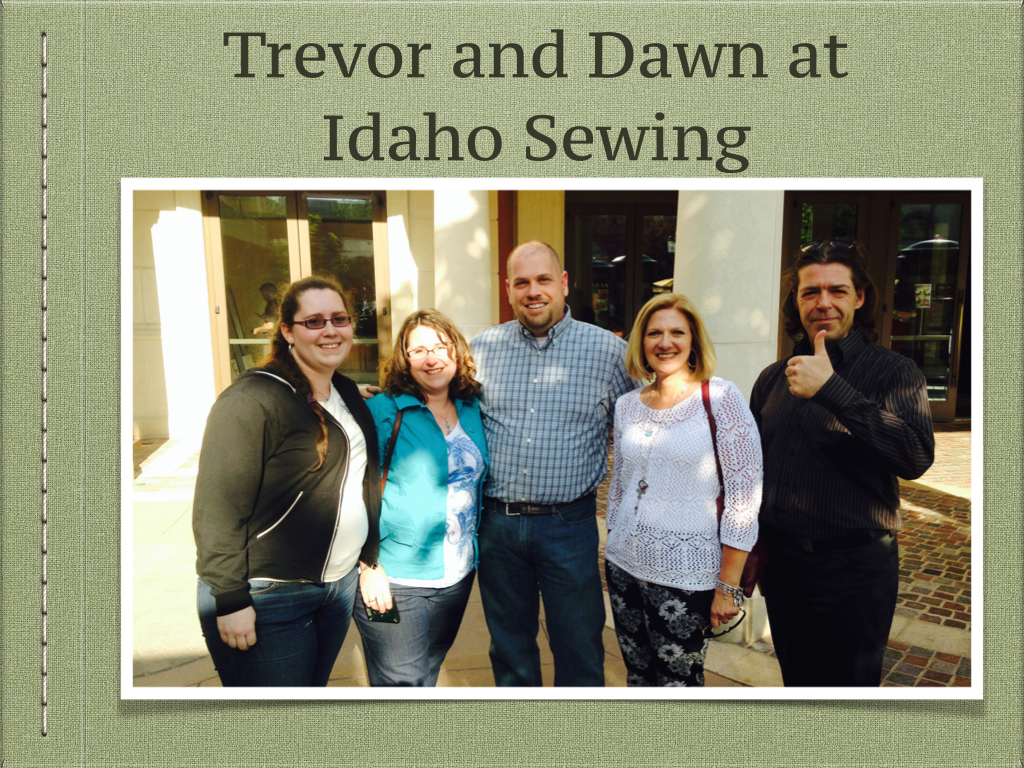
Class begins with Trevor sharing some photos from his recent trips to the US to attend a few Floriani events for RNK. Below is Trevor with Debbie, Mark and Dawn who are national Floriani Educators.
 Most Important Principles Begins at 6:00 of the video. Duration 3 minutes.
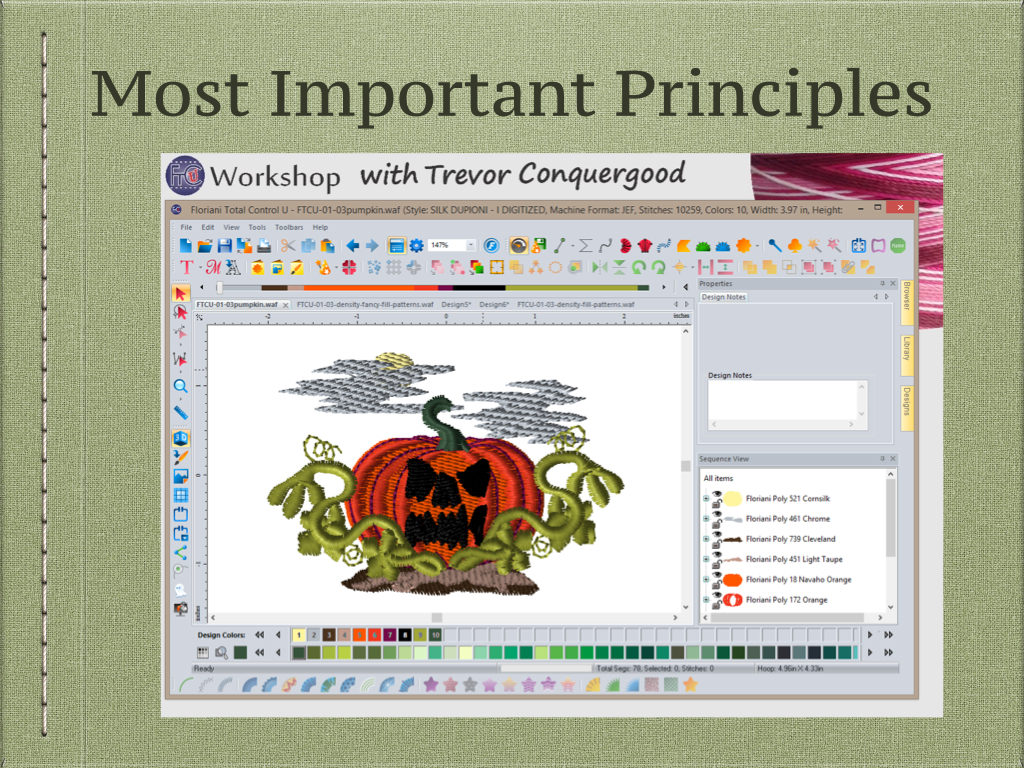
This class is all about building a foundation of knowledge that will support us in the designs and projects we create. This may be the first time you hear about overlapping and layering or push and pull but it will not be the last because they affect every embroidery you create.
 Stitch Length and Density Begins at 7:30 of the video. Duration 16 minutes.

This is a very interesting set of filled boxes. Trevor creates a chart with 1 inch squares that have different settings for stitch length and density. You will be amazed at how much these often overlooked settings will affect the stitch count of your designs.
 Styles of Fill Stitch Begins at 24:00 of the video. Duration 9 minutes.
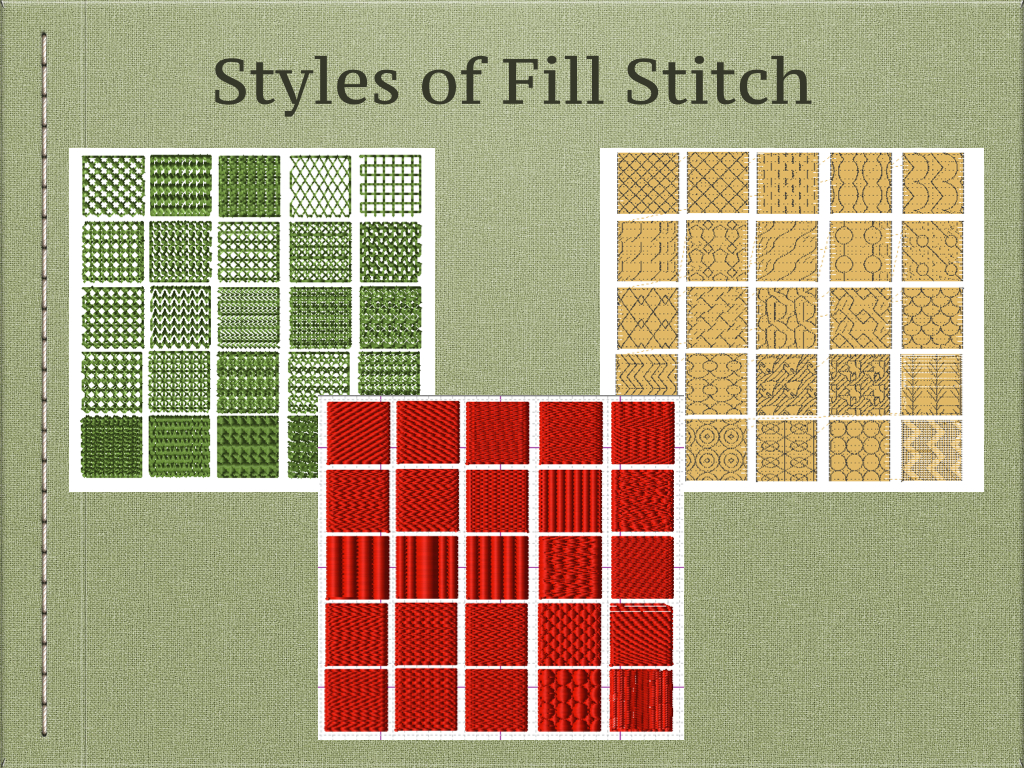
There are literally hundreds of different styles of fill to choose from with FTCU software. Trevor creates a few charts to sew out to help you with selecting a style of fill. For each style of fill you can also adjust the stitch length, density and size of the pattern created.
 Underlay Types Begins at 33:00 of the video. Duration 13 minutes.
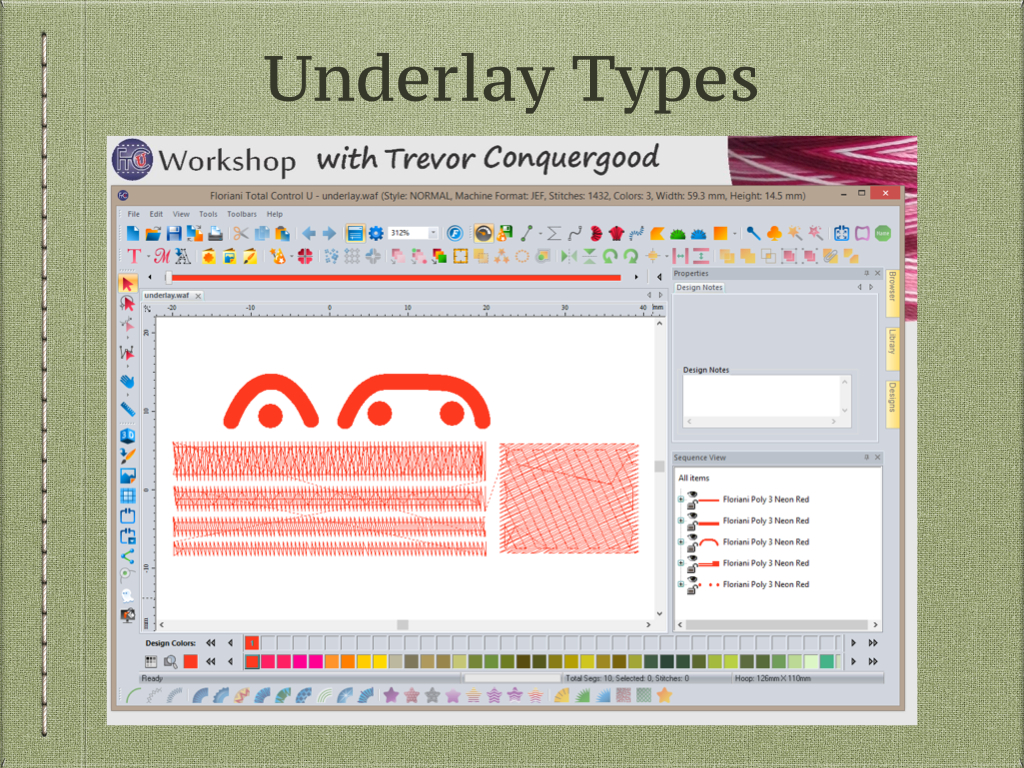
Underlay is embroidery stitches that are sewn first as a layer of run lines to help support the embroidery and keep it from sinking into the material or a lower layer of stitching. There are several choices for underlay style and Trevor explains how and why to choose them.
 Stitch Angles Begins at 46:00 of the video. Duration 8 minutes.
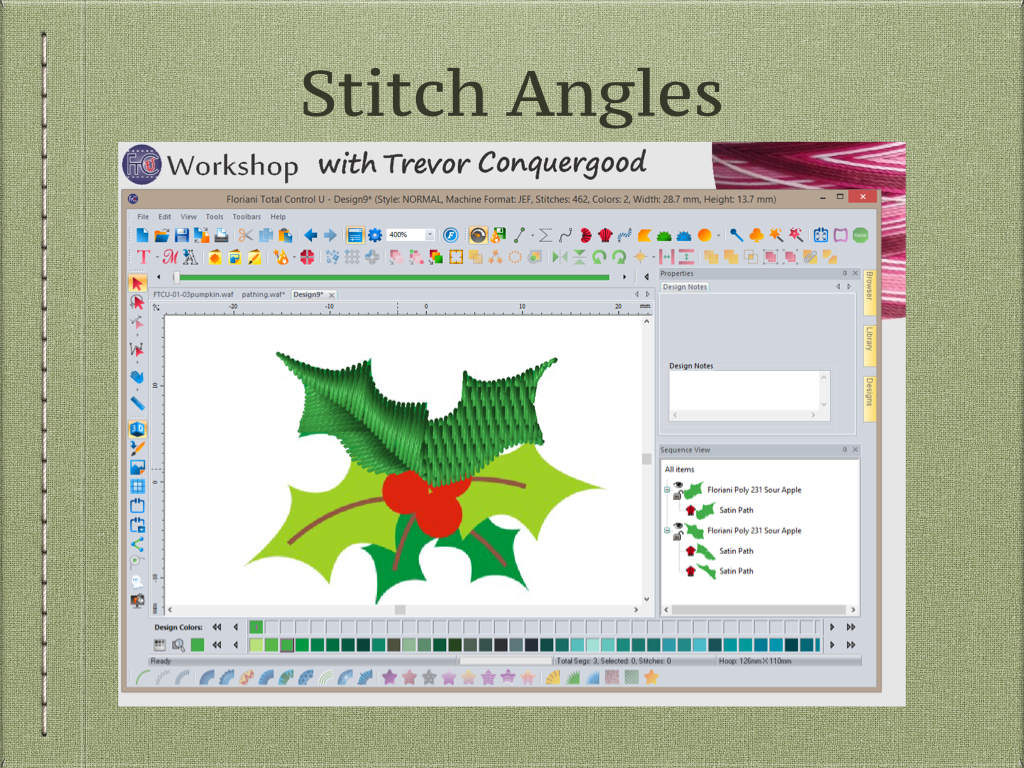
There are many considerations when choosing a stitch angle for your fill shapes. You can add dimension and realism to a design by choosing stitch angles that have a natural look. By dividing a leaf in two sides you can choose different stitch angles for each side.
 Blending Colours Begins at 54:00 of the video. Duration 8 minutes.
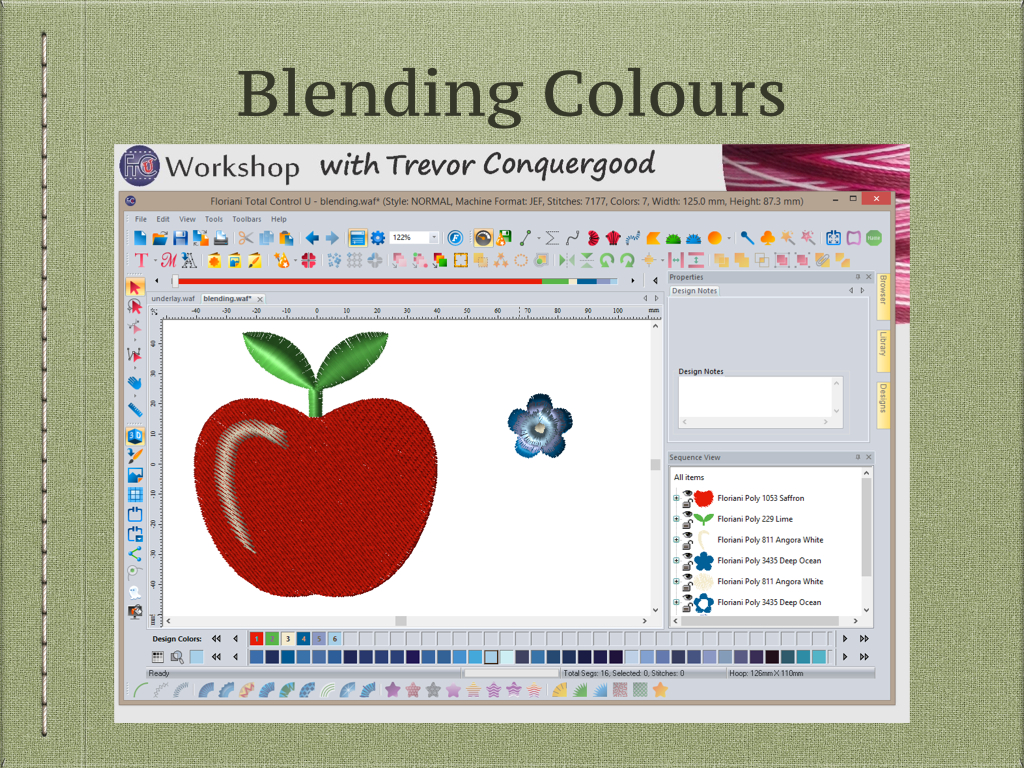
You can add shading or highlights to a fill by blending a new colour over top. In this case we will make changes to the settings to not have any underlay so the stitches can blend together. We also choose a stitch angle that is the same as the base layer of fill.
 Push and Pull – Compensation Begins at 1:02:00 of the video. Duration 16 minutes.

Compensation for Push and Pull is easy with the settings in FTCU. However you need to understand how and why they happen in order to fully understand how to compensate for them. Understanding push and pull will take the mystery out why things don’t align.
 Overlapping to Avoid a Gap. Begins at 1:18:00 of the video. Duration 6 minutes.
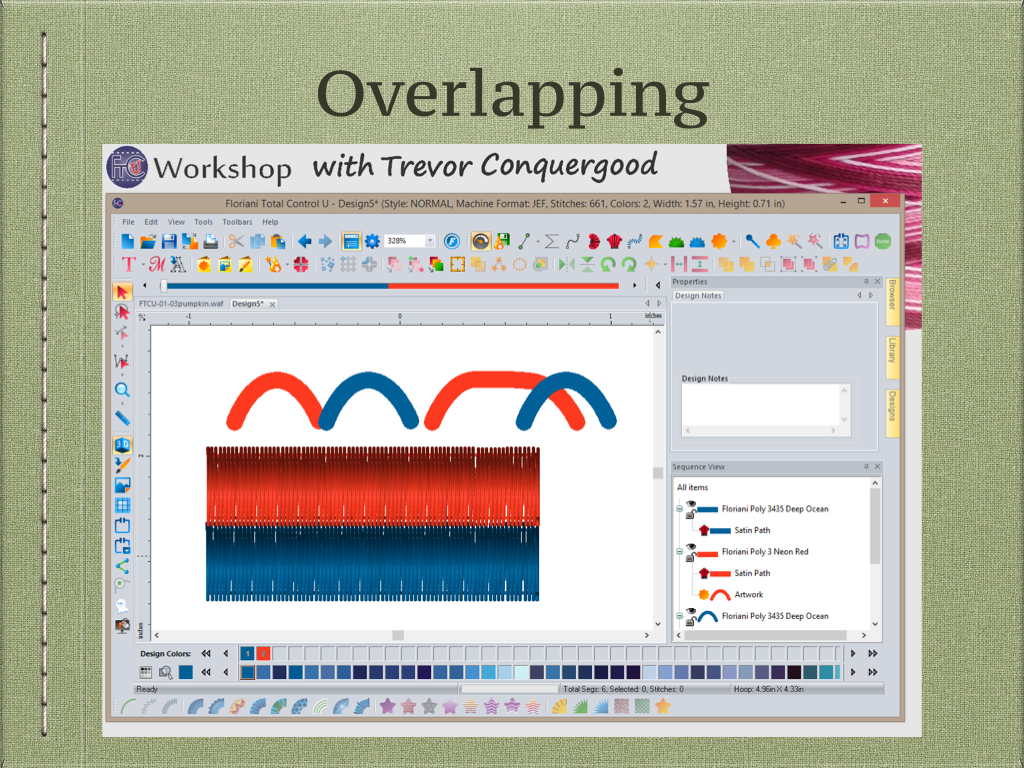
You need to overlap the edges of two colours that are adjacent in your designs. If you don’t you will end up with a small gap in between the areas. If you overlap the first colour under the colour that comes next it will avoid the gap and look much cleaner.
 Layering – Rule of Thumb Begins at 1:24:00 of the video. Duration 9 minutes.

It is ok to have more than one layer of embroidery. Yes you can remove overlapping stitches but be sure that you are actually saving stitches in the design. If the holes are too small it can actually add stitches in the design because and it would be better to simply layer over top.
 Pathing – Common Sense Begins at 1:27:30 of the video. Duration 7 minutes.

Common sense of embroidery says you can create the first item to best connect to the next and reduce or avoid the need to jump and trim the thread. Good pathing is the hallmark of an accomplished designer. No one like to trim threads if it’s not needed.
 Pumpkin from Vector Art Begins at 1:34:30 of the video. Duration 2 minutes.

Trevor provides this pumpkin design as a good example of how to apply all of these important principles in a design. The vector artwork is provided so you can also create this design and learn by applying, overlapping, layering, pull comp, open density blending, pathing and proper underlay choices.