 FTC-U Workshop 02-07
Class length is approximately 2 hrs and 05 minutes.
Binder Contest – The Winner is…
Congratulations to Valerie Day who is the winner of the Binder Contest. Trevor picked the winner during this class with a little help from the members who attended live. It was very nice to see the photos that were sent in for this contest and Trevor appreciates everyone that sent in a photo for a chance to win. 

Circle Template Tool Review
Begins at 12:00 of the video. Duration 9 minutes.
To begin this class Trevor reviews how to use the circle template tool. It’s a real wow moment when you open a beautiful corner design such as this My Floriani Club free design from May 2010. Select the design and use the circle template tool it creates a layout with several copies of the design around a circle. 
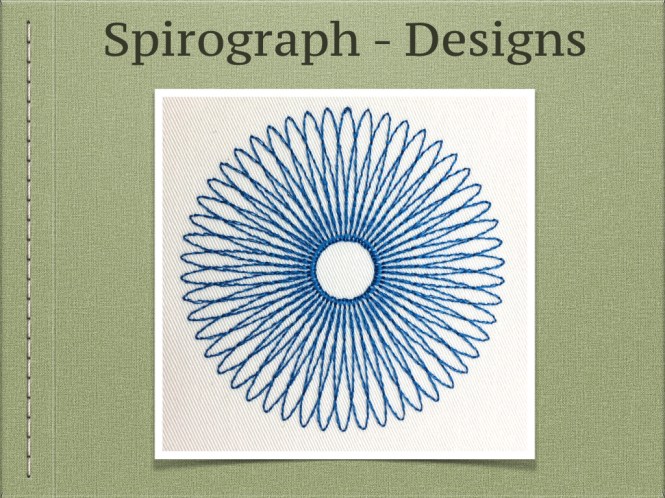
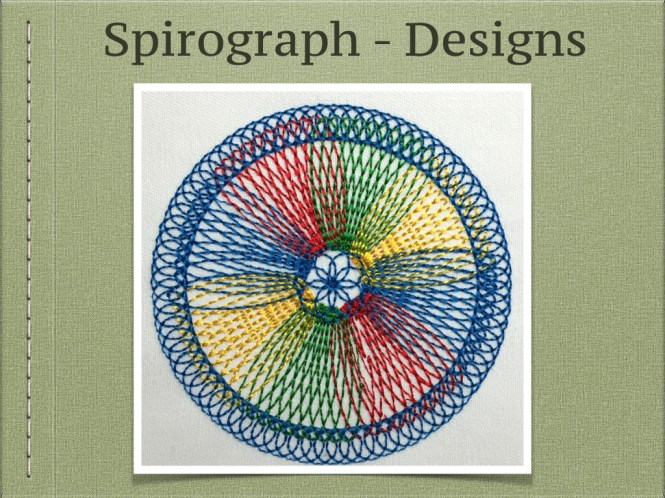
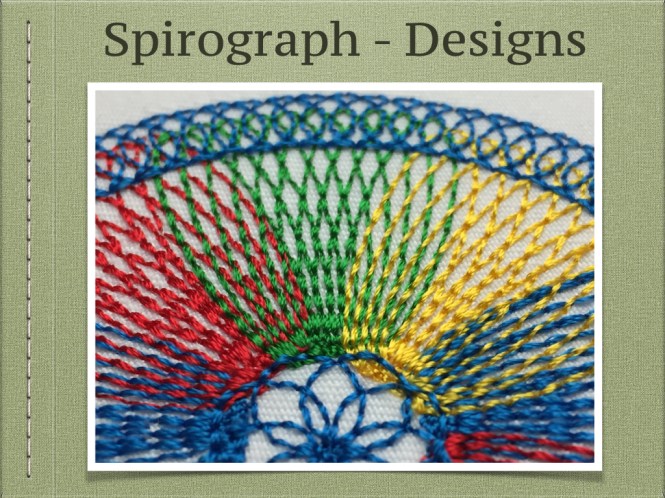
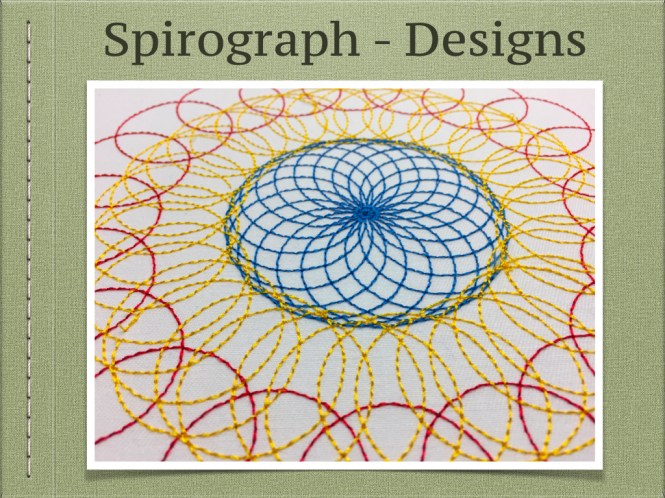
Circle Template Tool – Spirograph
Begins at 21:00 of the video. Duration 14 minutes.
In this segment we continue to learn about the circle template tool with simple shapes such as a circle. If you learn to adjust the various settings even a simple circle can become a beautiful design. Did you have a Spirograph when you growing up? Trevor uses the circle template tool to create several spirograph inspired designs from a single circle. Go ahead and try this technique, it’s so easy and you are sure to have fun. 


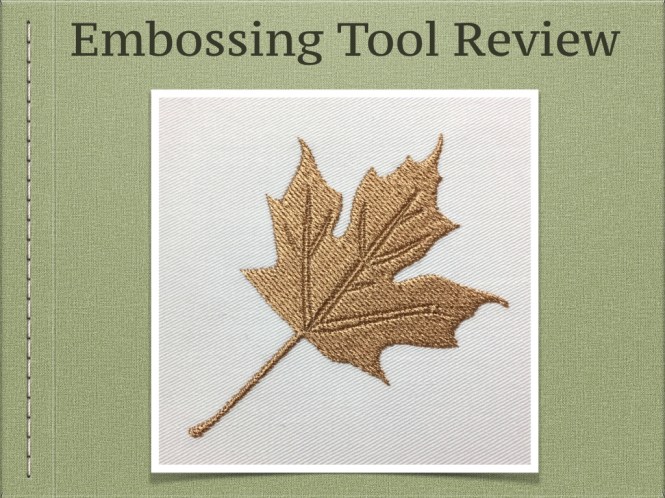
Embossing Tool Review
Begins at 34:45 of the video. Duration 10 minutes.
This segment is a review of the embossing tool and how it works. The leaf comes from the easy art in the custom shapes bin and Trevor shows how easy it is to use embossing to create the veins of the leaf. 
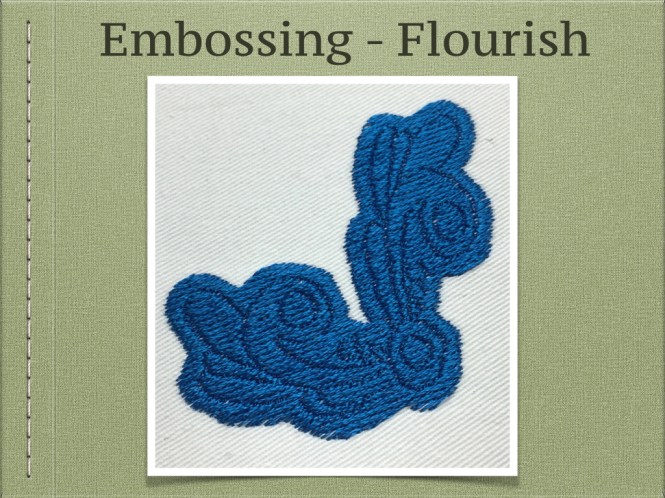
Embossing – Flourish – Convert Designs to Embossing
Begins at 44:45 of the video. Duration 10 minutes.
In this segment Trevor continues working with the embossing too and shows how you can use it with designs you already have in your collection. This is a design from a Floriani Promotional set and the original design is made with all run stitches. See how to select the run lines and first use the create outlines tool to create the filled in shape and then apply embossing on the run lines. 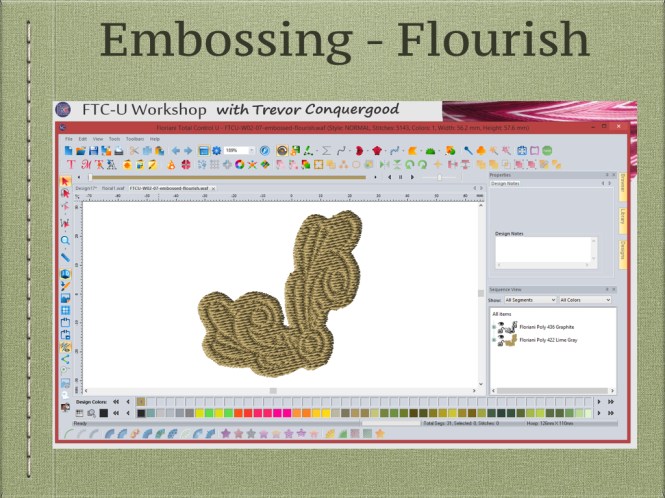
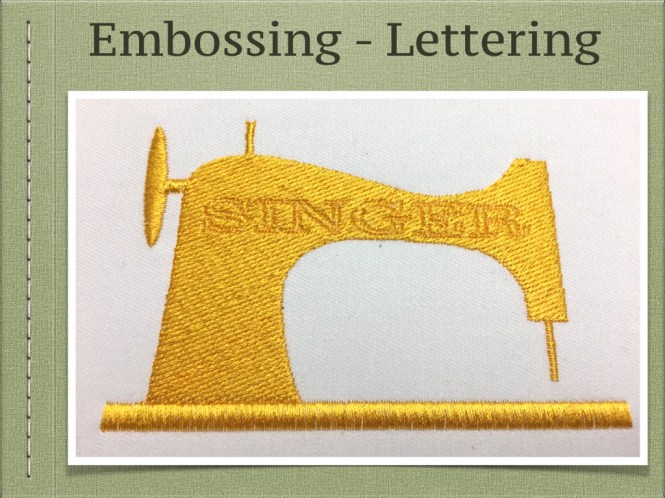
Embossing – Lettering
Begins at 54:45 of the video. Duration 9 minutes.
For this segment we continue to work with embossing and this time we use lettering to emboss the word singer on to the fill of this sewing machine. The art for the sewing machines comes from the easy art in the custom shapes collection. 
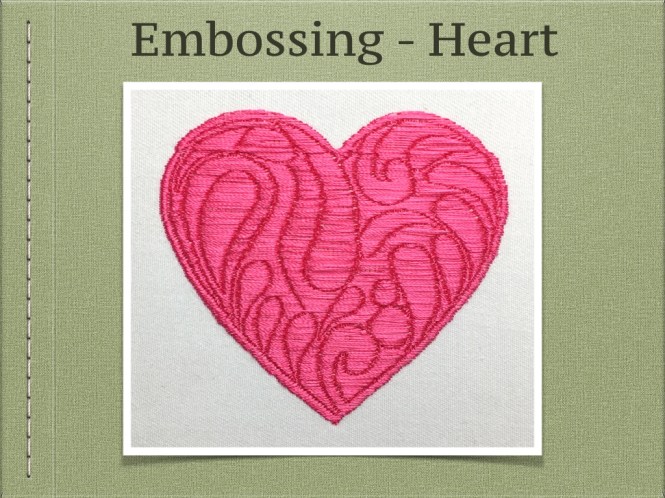
Embossing – Heart – Drawing Lines to emboss
Begins at 1:03:30 of the video. Duration 10 minutes.
One more segment with the embossing tool and for this one Trevor shows how you can draw your own lines to add embossing elements just where you need them. To make the effect more dramatic Trevor uses a satin fill on the hart vs a patterned fill. Watch out for long stitches!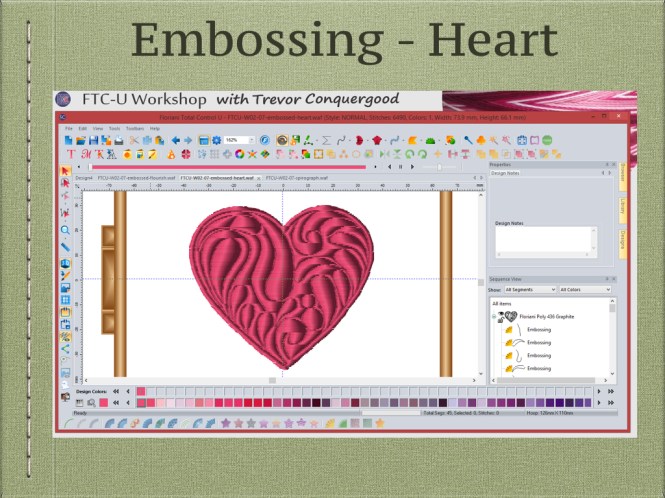
Jagged Edges – Review
Begins at 1:14:00 of the video. Duration 6 minutes.
This segment is a review of how to add jagged edges to your satin stitch shapes. Look on the “Column” tab in the properties box where you can choose from first side, second side or both to apply a jagged edge effect. There is also a setting you can adjust to control the amount of the jagged edge effect. 
Digitize – Cute Little Mouse – Creating Fur Technique
Begins at 1:20:00 of the video. Duration 45 minutes.
Trevor digitizes this cute little mouse from start to finish from a jpg image using the hands on tools. This is manual digitizing made simple while being creative and taking advantage of the power and control of FTCU. Learn to create a fur effect by layering satin stitch columns that all have a jagged edge that blend together. This is how to get the furry look on the mouses tummy. We also lear about how to split a long satin stitch with a random split as seen on the mouse right leg. 


