 FTC-U Workshop 01-10
Class length is approximately 2 hrs and 15 minutes.
Create FSL Snowflake
Begins at 5:30 of the video. Duration 50 minutes.
Trevor creates a snowflake using the .emf artwork that is provided. Learn the difference between artwork and a backdrop. Use the provided vector artwork to create the design yourself and follow the steps Trevor takes in class. Trevor’s .waf file is also included. Sew on Floriani Wet and Gone stabilizer to create free standing embroidery.

Applique Question
Begins at 56:30 of the video. Duration 8 minutes.
Lynn sent in a question about how to create an appliqué that has a blanket stitch edge. The question is how to make the blanket edge point out not in. This is not a feature of the appliqué tool however Trevor has a solution by learning to create a custom motif. 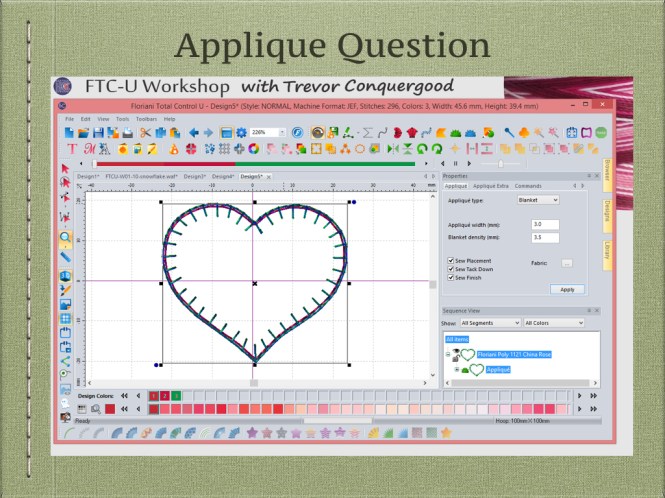
Review of Stitch Mode
Begins at 1:04:45 of the video. Duration 8 minutes.
Do you know the three main modes of editing? Before we can learn to create a motif we need to review how to use Stitch Mode. Trevor reviews how to turn on Stitch mode and how to add or delete or move individual stitches. Learn to make very precise edits to how the design sill stitch out.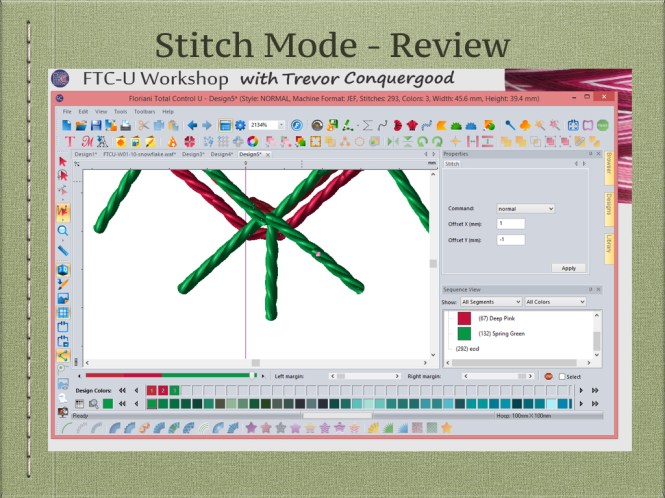
Create a New Custom Motif
Begins at 1:13:00 of the video. Duration 27 minutes.
Learn to select stitches by using stitch mode so that you can save those stitches as a new custom motif. You can also make edits to the existing motif stitches and then save the edited version to use as a motif line or as a motif fill. 
Motif Line Question
Begins at 1:40:15 of the video. Duration 8 minutes.
Trevor received an email from Linda about some trouble she had with a motif she had created. Trevor opens her design and looks at the issue of the motifs not aligning along a curved line. Trevor is able to make edits to the motif so that it looks good. 🙂
Create New Symbols
Begins at 1:48:30 of the video. Duration 4 minutes.
Learn to create a new symbol and save it for quick and easy use as a custom symbol. Symbols are made from one or more embroidery segments. In other words any design you make can be saved as a symbol so you can re use it in your new designs.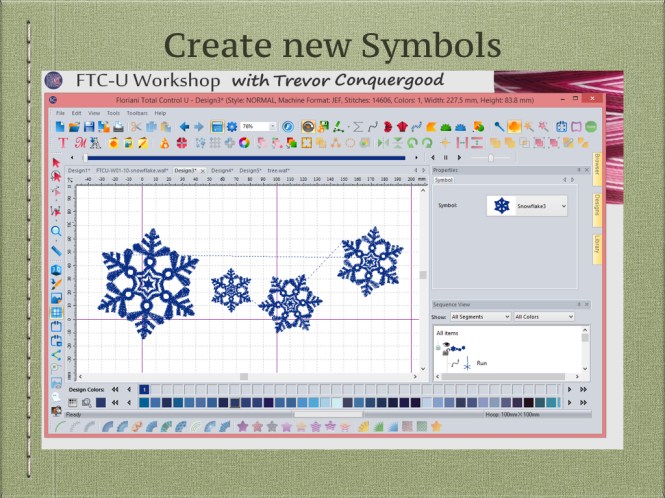
Create a New Custom Shape
Begins at 1:52:30 of the video. Duration 4 minutes.
Custom Shapes are different from Symbols in that they are made up of artwork only and do not have any of their stitches assigned. You can easily add any artwork to your custom shapes library so you can quickly use them again in your new designs.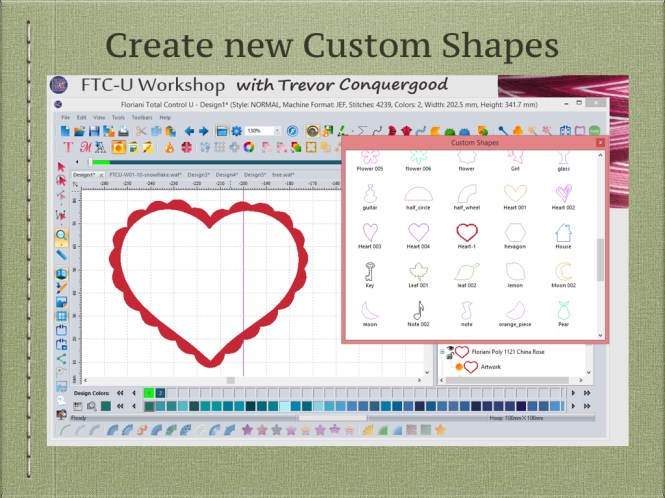
What to Backup Question
Begins at 1:56:30 of the video. Duration 10 minutes.
Trevor received an email with a very important question, “What do you do need to backup when you want to upgrade your computer”. As you can see in this class there are many custom items you can make and in this Segment Trevor shows where they are stored and what you need to back up.
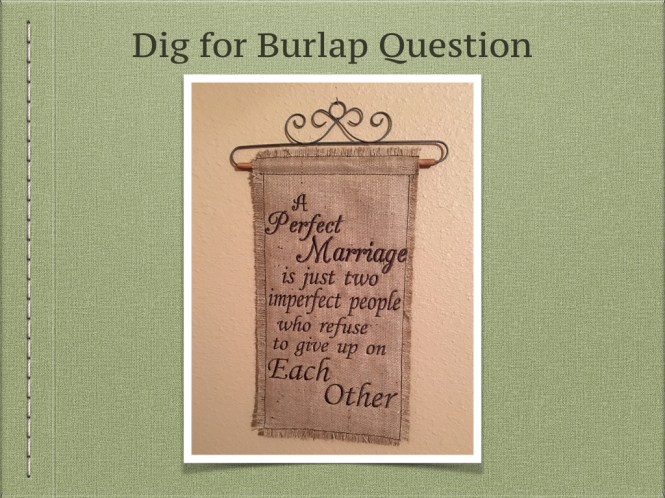
Dig for Burlap Question
Begins at 2:06:00 of the video. Duration 5 minutes.
Trevor received an email from Anne asking about embroider on Burlap. Trevor suggested using extra underlay to help keep your stitches from sinking in to the open material. Debbie Homer Hofines suggested No Show mesh for stabilizer and heat and gone topping.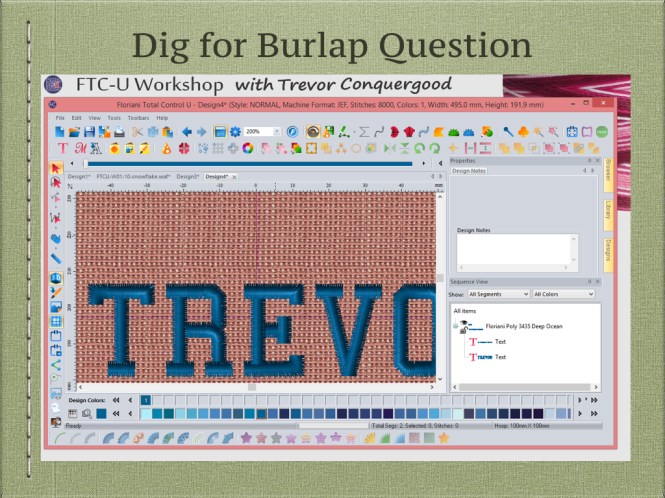
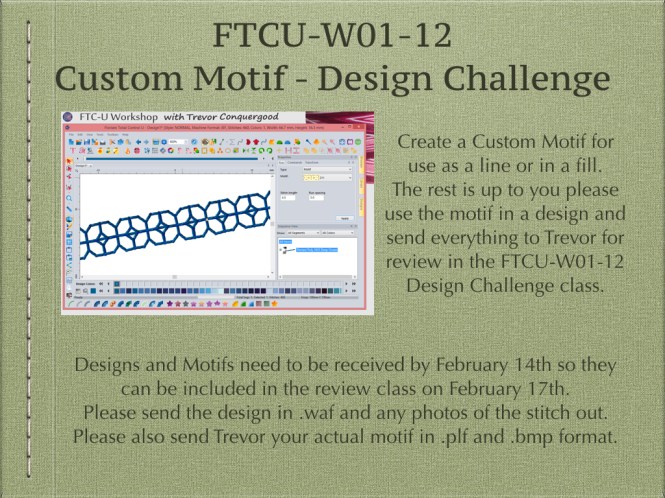
FTCU-W01 – Custom Motif Challenge Invitation.
Create a new Custom Motif and use it in a design. Send Trevor the motif, the design and a photo to include in the Challenge review class (FTCU-W01-12) on February 17th, 2016. You can expect more inspiration for creating new custom motifs in our next class FTCU-W01-11 in January and then I need to receive your design by February 14th 2016 to be included in the review class.